
Last updated November 2, 2026
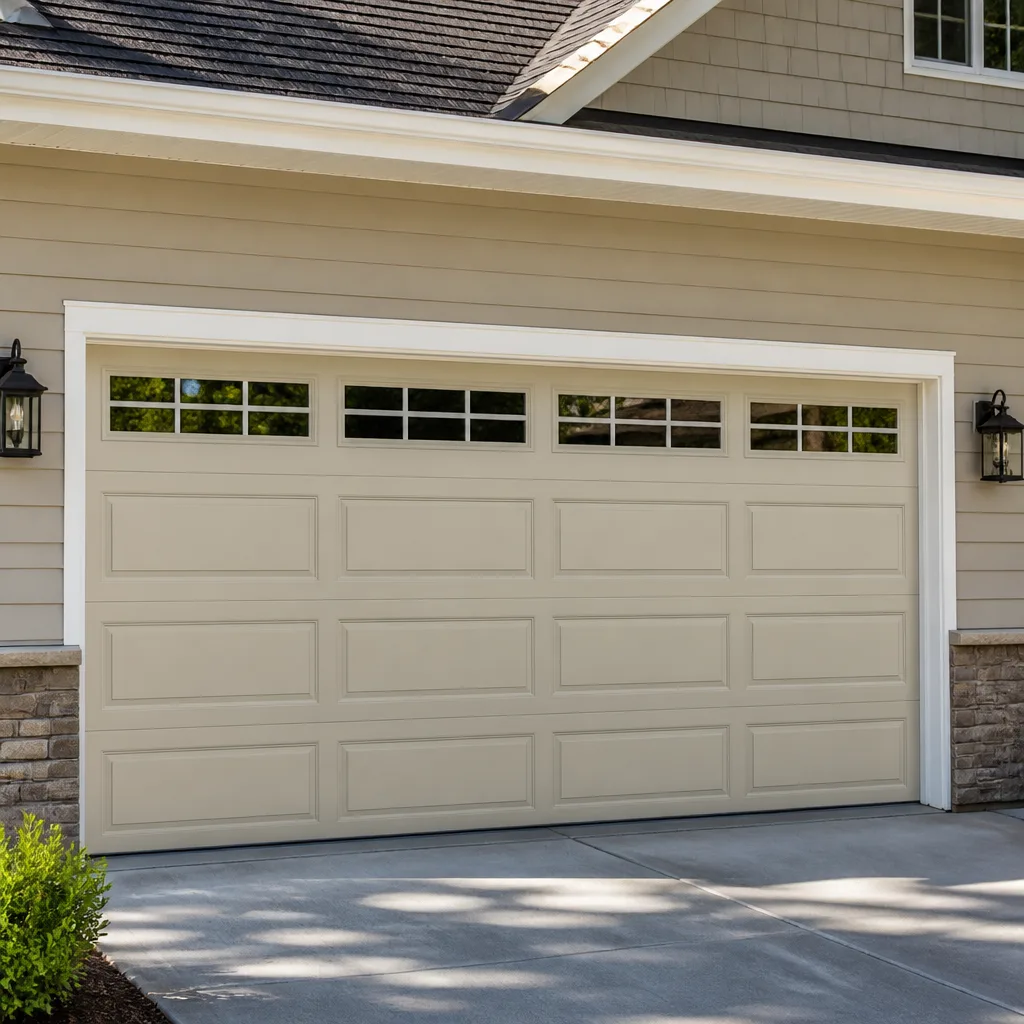 Raised-panel steel
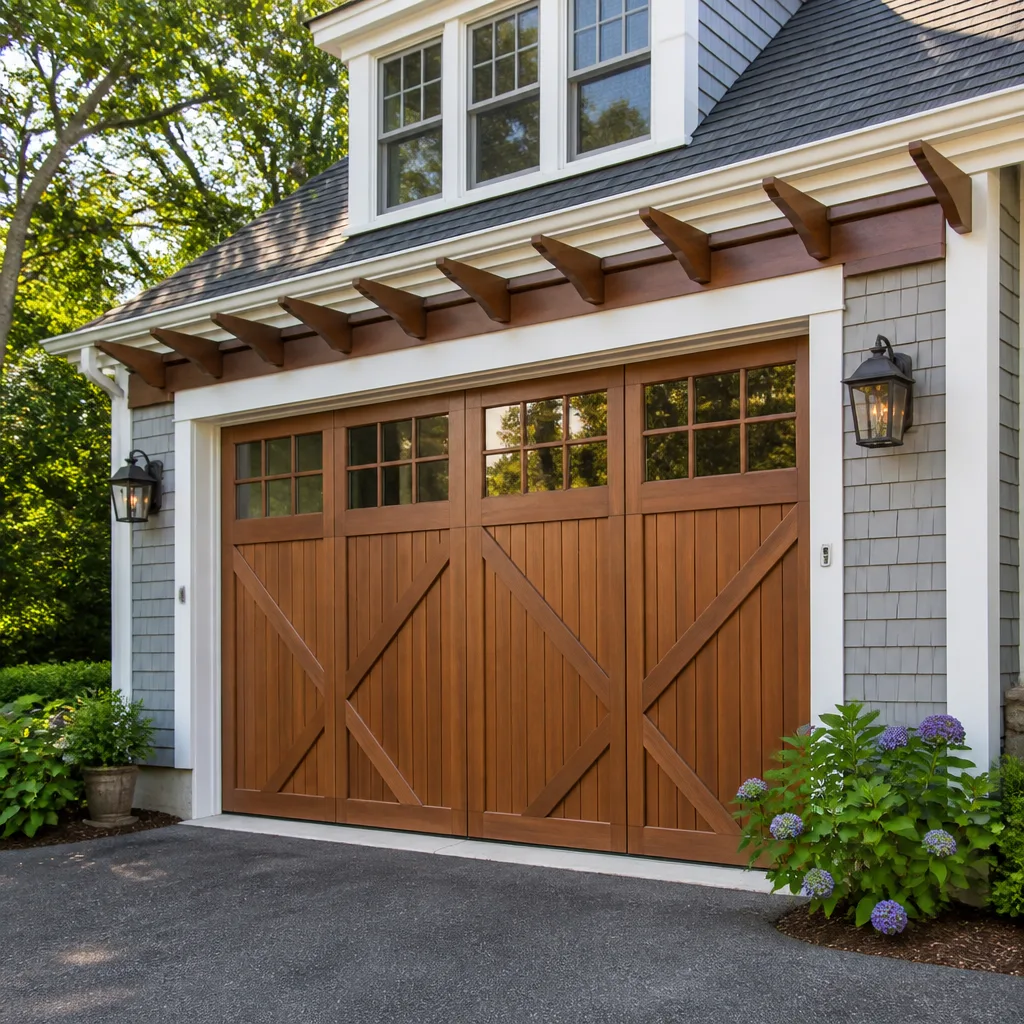 Carriage house
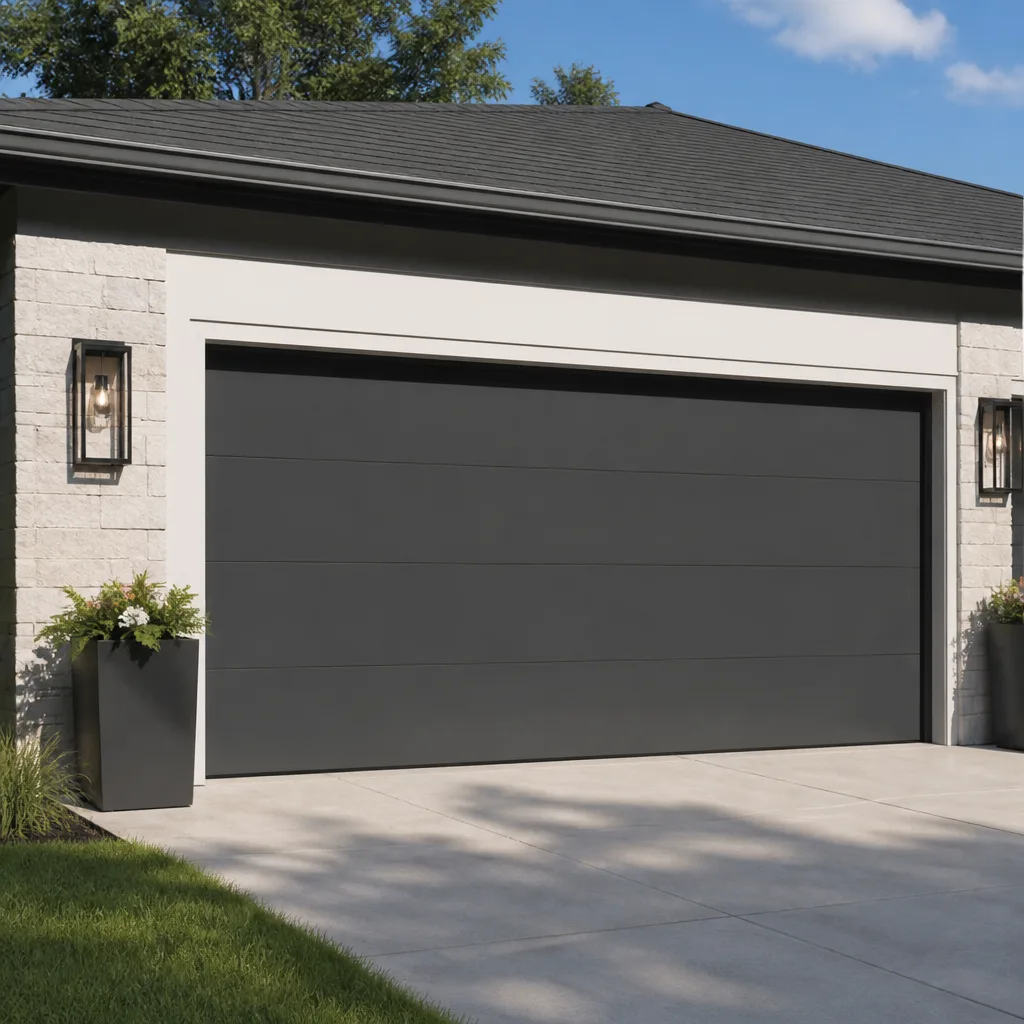 Modern flush
 Full-view glass
 LiftMaster openers
 Chamberlain openers
Full 25-point door and opener safety check with every visit - springs, cables, rollers, tracks, and your LiftMaster or Chamberlain opener included
You get a price before we start. It does not change when the truck arrives.
Get your free estimateDIY vs Professional Garage Door: The Castro Valley Homeowner’s Decision Guide
Here’s something most garage door content won’t tell you: the DIY versus professional question isn’t about how handy you are. It’s about stored energy. A garage door looks like a simple mechanical system, but the springs that do the heavy lifting are under constant tension, and some of them hold enough stored force to break bone or worse if they release suddenly. This guide draws a clear line between what a careful Castro Valley homeowner can confidently handle in an afternoon and what genuinely requires a trained technician, and you can explore more guides & resources for ongoing maintenance. You’ll learn the mechanical reason behind each classification, what tools signal a job has crossed into dangerous territory, and how to spot bad DIY advice before you follow it.
Lubricating rollers and hinges is a legitimate DIY task. Adjusting torsion spring tension is not, not because it’s complicated, but because a spring under 150 pounds of stored torque doesn’t give you a second chance if the winding bar slips. We’ve written this guide from our experience serving Castro Valley garages, where homes range from 1960s ranchers with original extension spring systems to newer builds in Palomares Hills with smart openers and torsion setups, and we recommend our Garage Door Emergency Preparedness Guide for Castro Valley Homes for planning ahead.
Quick Answer
Most garage door maintenance tasks are safe for a careful homeowner, including lubrication, visual inspection, weatherstripping replacement, and sensor realignment. However, any repair involving torsion springs, lift cables, or opener motor internals should be handled by a professional, because those components store enough tension to cause serious injury, and the full risk isn’t visible until you’ve already committed to the repair. The real skill in DIY garage door work is knowing where that line sits.
Styles & brands we work with
- Raised-panel steel
- Carriage house
- Modern flush
- Full-view glass
- LiftMaster openers
- Chamberlain openers
Table of Contents
- Safe DIY Tasks: What You Can Confidently Handle
- Proceed with Caution: Tasks That Require Specific Knowledge
- Professional-Only: Why These Jobs Demand a Technician
- Torsion vs Extension Springs: Two Very Different Risk Profiles
- The Tool Test: What Your Toolkit Says About the Job
- How to Evaluate a Garage Door Repair Video
- The Real Cost Comparison: Labor Saved vs the Misdiagnosis Tax
- Common Mistakes to Avoid
- When to Call a Professional
- Frequently Asked Questions
Safe DIY Tasks: What You Can Confidently Handle
A meaningful portion of garage door maintenance is genuinely safe for a homeowner with basic tools and a willingness to read the manual. These tasks share two characteristics: they don’t require working near tensioned components, and a mistake won’t put you or anyone else in harm’s way. In Castro Valley’s climate, with its dry summers and damp winter mornings, doing these tasks on a schedule extends the life of your door and keeps it running quietly.
Here’s what falls into the safe category:
- Lubricating rollers, hinges, and the opener rail. Use a silicone-based lubricant or white lithium grease. Apply to the roller bearings, the hinge pivot points, and the section joints. Do this twice a year. Skip WD-40, which is a solvent, not a lubricant, and will strip away the good grease.
- Tightening loose hardware. The constant motion of a garage door vibrates bolts and screws loose over time. Check the hinge plates, rail brackets, and track mounting bolts. A socket wrench is all you need. Don’t overtighten into sagging wood; snug is enough.
- Replacing weatherstripping along the bottom of the door. In Castro Valley, where winter mornings bring condensation, a worn bottom seal lets cold air and dust into the garage. Most seals slide or press into a channel along the door’s bottom edge. This is a ten-minute job with no mechanical risk.
- Testing and realigning safety sensors. The photo eyes near the bottom of each track can get bumped out of alignment. If the door won’t close and the opener flashes, check that both sensors face straight at each other and that the small LED is steady green, not blinking. Gently adjust the bracket. No spring contact required.
- Repainting or cleaning the door surface. Cosmetic work on steel doors from brands like Clopay or Wayne Dalton is straightforward. Wash with a mild detergent, and use a paint rated for metal if you’re changing the color. Just don’t paint over the weatherstripping or the track rollers.
These five tasks account for a large share of what a typical Castro Valley door needs in a given year. If the issue is noise, sticking, a draft, or an intermittent sensor error, start here. You won’t fix a broken spring, but you also won’t risk one.
Proceed with Caution: Tasks That Require Specific Knowledge
Between the safe maintenance tasks and the professional-only work sits a middle band. These jobs don’t inherently put you at risk of a spring releasing, but they do require understanding how the door’s balance and travel interact. Doing them wrong won’t send you to urgent care, but it can damage the door, the opener, or both.
1. Adjusting the opener’s travel limits and force settings
Every garage door opener has up and down travel limit adjustments, plus force controls that determine how hard the opener pushes before reversing. If your door doesn’t close fully or reverses too early, a cautious homeowner can adjust these with a screwdriver. The critical rule: the door should close and stop under its own balance, not because the opener is forcing it. If you increase force too much to compensate for a weakening spring, you’ll burn out the opener’s gear eventually.
2. Replacing a worn roller
Nylon rollers wear out, especially in Castro Valley’s dry months when dust accelerates abrasion. Replacing a roller is possible for a careful DIYer, but it requires bending the track slightly at the hinge point to slip the roller out. The danger lies in the temptation to remove a roller from the bottom bracket without releasing spring tension first. You can replace middle and top rollers with the door down and the springs still tensioned. Leave the bottom bracket rollers alone unless you fully understand the tension path.
3. Replacing the opener remote’s logic board
For homeowners with a Genie or Chamberlain opener, swapping the circuit board inside the motor unit is a bolt-in, plug-in repair. It’s safe, and the parts are available. But it presumes you’ve correctly diagnosed the logic board as the failed component. We see Castro Valley homeowners replace boards when the actual problem is a failing wall control or a miswired sensor, which is why we say “diagnose before you quote” applies to DIYers too.
In our experience, the difference between a successful DIY job in this middle band and a frustrating weekend is the willingness to stop and reassess when the first attempt doesn’t work. If you’ve adjusted the limits twice and the door still behaves oddly, the issue is probably not the limits. That’s your signal to step back.
Professional-Only: Why These Jobs Demand a Technician
Here’s where the line gets firm. Certain garage door repairs carry a level of injury risk that no homeowner should accept, and the classification isn’t a matter of opinion. It’s physics. The components below store enough mechanical energy that a single mistake becomes a serious injury before you can react.
These are professional-only tasks, no exceptions:
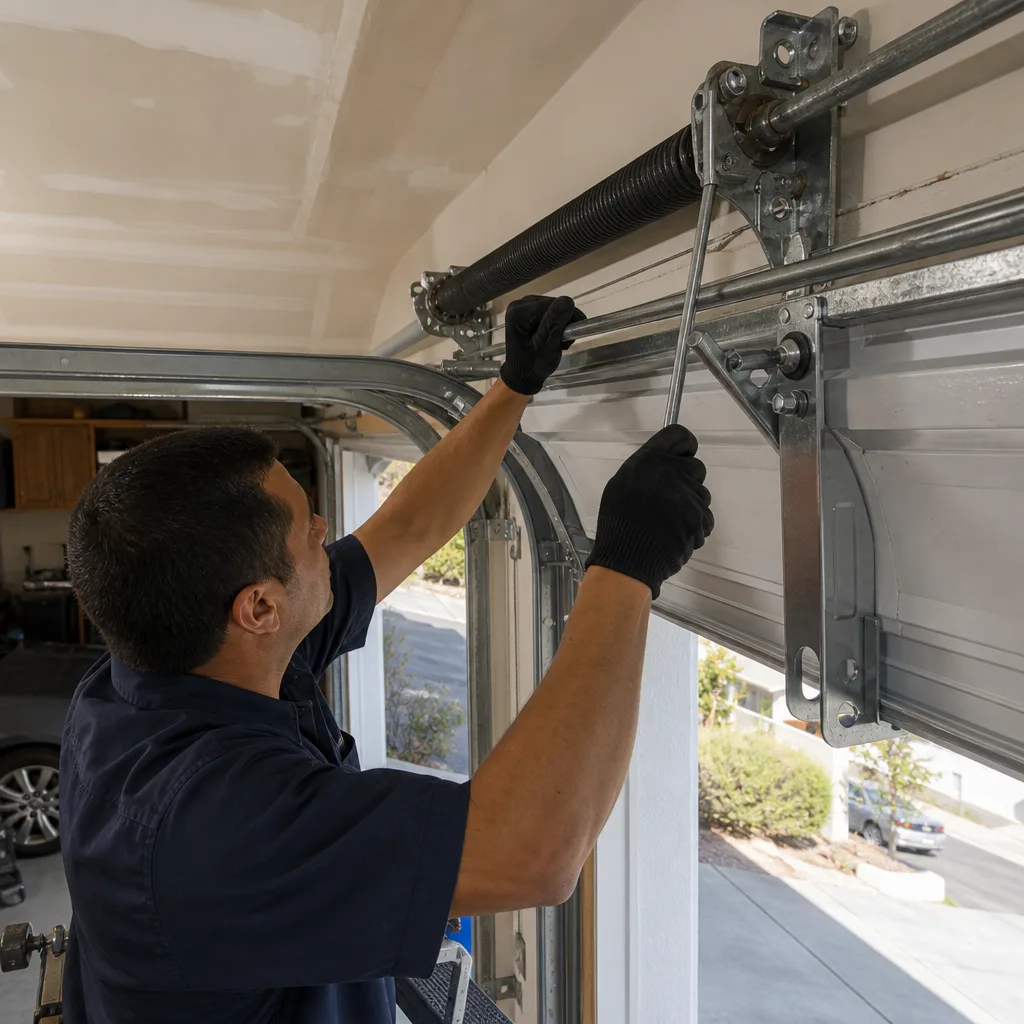
- Torsion spring replacement or adjustment. A torsion spring is wound to store a large share of the door’s lifting force. When it breaks or needs adjustment, the spring must be unwound or wound using steel bars. If a bar slips, the spring releases almost instantaneously. Hand injuries, facial fractures, and worse are documented outcomes. This is the single most common serious injury in home garages.
- Lift cable replacement. The cables run along each side of the door and carry the spring’s tension to the bottom brackets. They’re always under load when the door is closed. Cutting or disconnecting a cable without first securing the spring tension turns the cable into a whipping line with a steel tip.
- Extension spring replacement (full system). Older Castro Valley homes often have extension springs that run horizontally above the track. Replacing one involves stretching the spring to attach it to its bracket, and without the proper safety cable routed through it, a broken spring becomes a projectile. Older systems frequently lack safety cables, which makes the job riskier still.
- Track realignment after a major impact. If your door was hit by a car or a heavy object, the track may be bent. Straightening a track under load requires releasing the tension system first. Attempting to bend a track while the door is suspended on tensioned springs can cause the door to shift suddenly.
- Opener motor replacement that involves the power drive gear and sprocket. While the logic board swap is accessible, opening the motor housing to replace the drive gear involves high RPM internal components that are best left to a specialist.
The pattern here: anything that requires releasing, winding, or transferring stored spring energy is a hard no for DIY. We’ve seen the aftermath of winding bar slips in Castro Valley garages, and the injured homeowner always says the same thing: “It happened faster than I could move.” It always does.
Torsion vs Extension Springs: Two Very Different Risk Profiles
Castro Valley’s housing stock splits across two spring types, and the risk difference between them matters. Understanding which system your door uses is the first step in evaluating any repair.
Torsion springs: the tight coil above the door
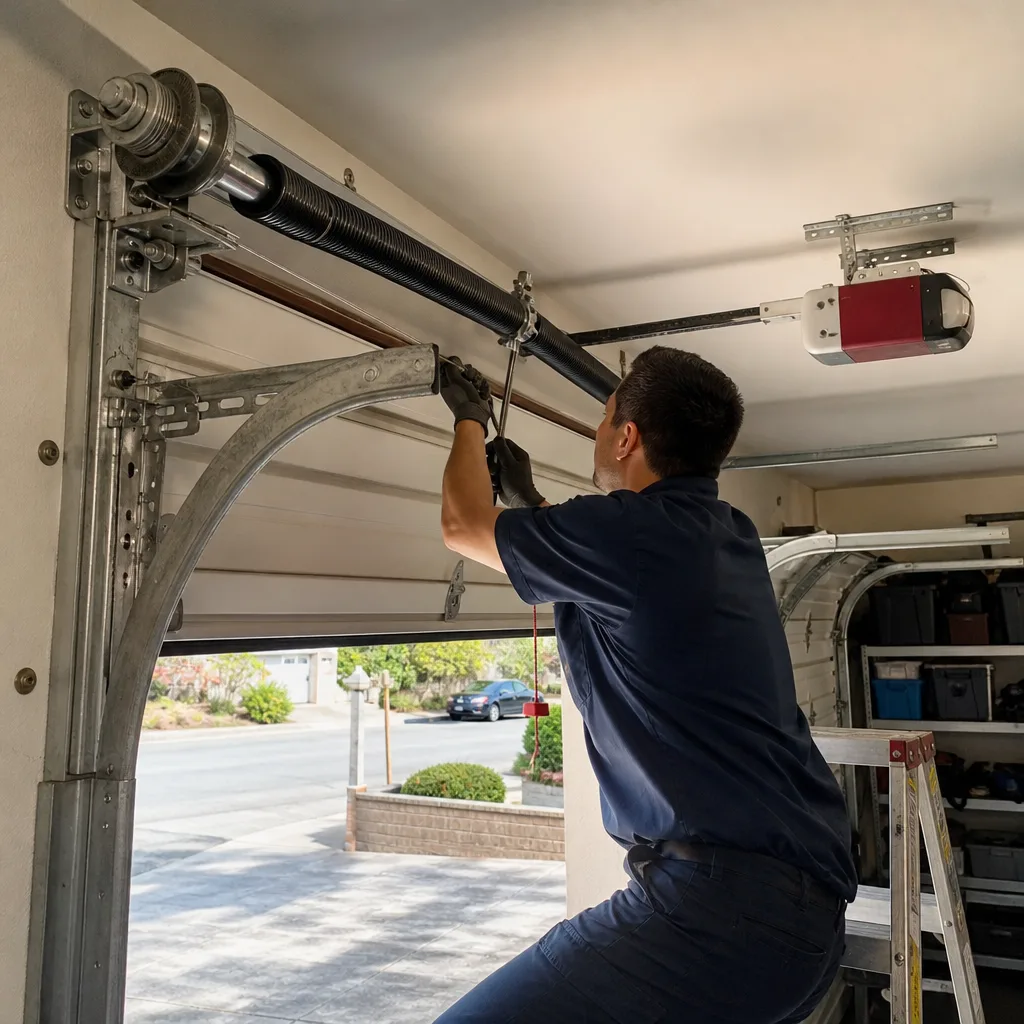
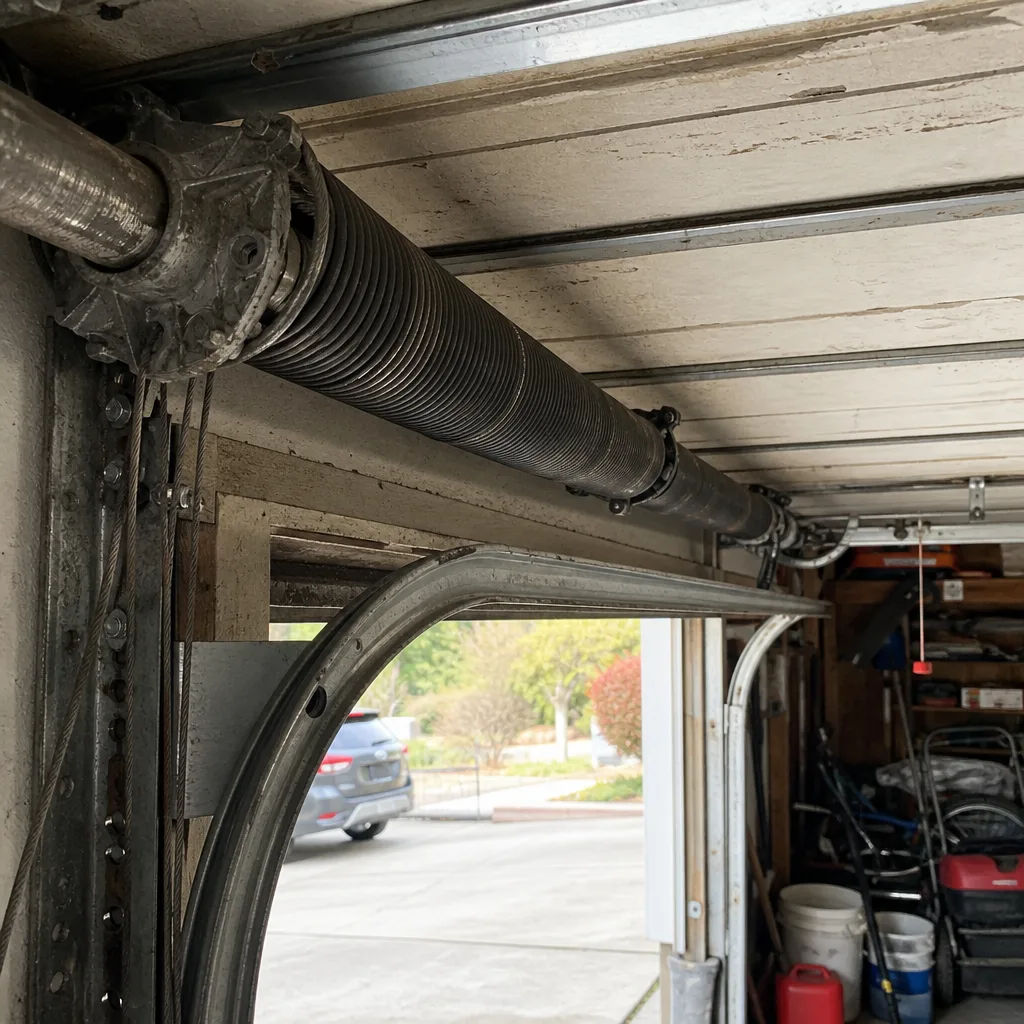
Torsion springs mount on a shaft directly above the closed door. They work by winding and unwinding, storing torque in a coil rather than stretching. When a torsion spring breaks, you hear it. The sound is a loud snap, like a gunshot, and neighbors often mention it. A broken torsion spring leaves the door without any lift assist, and because a torsion spring typically cycles 10,000 times before failure, both springs on a double door are usually near the end of their life when one lets go.
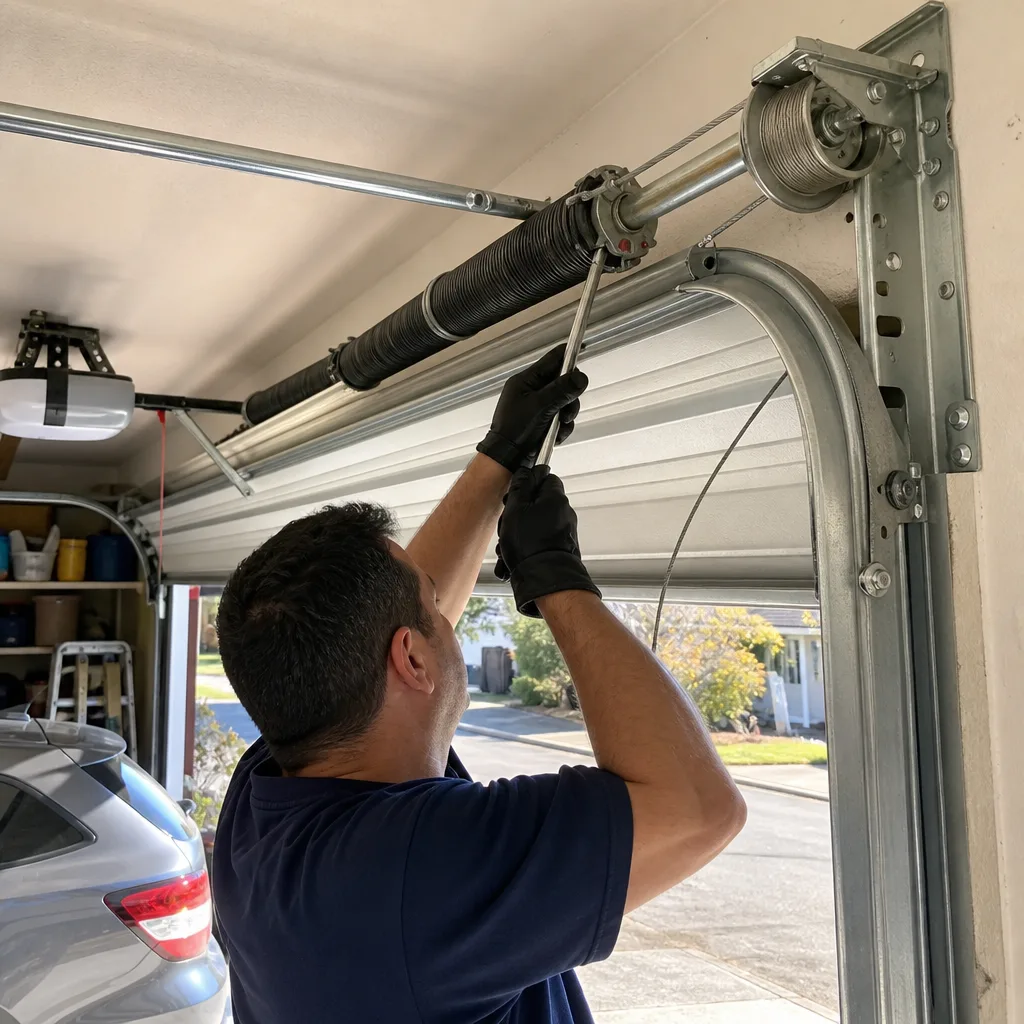
Torsion springs are the more dangerous of the two systems for one reason: the winding process. Adjusting or replacing a torsion spring requires inserting steel winding bars into the spring’s cone and rotating it under load. Each quarter-turn adds tension incrementally. A slip at any point in that process releases all the stored torque at once. There is no partial failure mode.
Extension springs: the stretched springs above the track
Extension springs run horizontally above the left and right tracks. They stretch when the door closes and contract when it opens. Older extension spring systems, particularly on Castro Valley homes built before the 1990s, often lack safety cables through the spring’s core. A safety cable is a steel wire that runs through the spring and anchors to the track. If the spring breaks without one, the broken end launches across the garage with considerable force.
Here’s what matters for the homeowner: extension spring replacement is somewhat less dangerous than torsion spring work in terms of immediate injury, because the spring isn’t wound under torque. But it’s still not a beginner’s job, and the presence or absence of safety cables should dictate whether you even think about touching the system. If you don’t see a cable running through each spring, treat that area as off-limits until a professional has added them.
For Castro Valley specifically: many of the ranch-style homes in the central neighborhoods, like Castro Valley proper and the streets off Redwood Road, still have their original extension spring setups. Newer homes in Palomares Hills and the Upper Lake Chabot area more commonly have torsion systems. Your door’s age and the hardware above the opening will tell you which you have in about five seconds.
The Tool Test: What Your Toolkit Says About the Job
You can classify almost any garage door task accurately by looking at the tools it demands. If the job requires only what a normal homeowner owns, it’s likely safe. If the job requires specialized tools with a single, tension-related purpose, that’s a signal you’ve crossed the professional line.
Tools that belong in a homeowner’s garage door maintenance kit:
- Silicone lubricant spray
- Socket wrench set with a 7/16″ and 9/16″ socket
- Flat-head and Phillips screwdrivers
- Needle-nose pliers
- Torpedo level
- Step ladder
- Replacement weatherstripping
None of these tools is specialized. If your repair plan calls only for items on this list, you’re working in safe territory.
Tools that signal the job is professional-only:
- Winding bars. These two steel rods are used exclusively for tensioning and detensioning torsion springs. If your project involves winding bars, stop. The fact that you’re asking about them means you shouldn’t be using them.
- Cable pullers or tension clamps. These grip a tensioned cable or spring to hold it in position. Same rule applies.
- Spring gauges and torsion spring scales. These measure spring tension and door balance. A professional uses them to calibrate a new spring system. A homeowner asking which gauge to buy is already diagnosing at a level that demands a technician.
In our experience working on doors from Amarr, Clopay, and Wayne Dalton in Castro Valley, the homeowners who attempt spring work with improvised tools (screwdrivers as winding bars is the classic) are the ones we hear from after an injury or a badly damaged door. The tool list is the line. Respect it.
How to Evaluate a Garage Door Repair Video
There’s useful garage door instruction online, and there’s content that will get someone hurt. The difference isn’t always obvious at first glance. After years of seeing the aftermath of bad DIY advice in Castro Valley garages, we’ve identified two recurring problems with most garage door repair videos.
Problem one: the video edits out the dangerous parts
A typical torsion spring replacement video shows the host talking, then a jump cut, then the spring installed. The full winding process, where the actual risk lives, is often fast-forwarded or skipped. The viewer never sees the moment where the bar could slip, where the host braces, or where the spring suddenly snaps into position. The video looks clean because the danger was edited out. Real spring work is not clean. It’s physically demanding, requires specific bracing stances, and goes wrong without warning. If the video won’t show the full uncut winding sequence, treat it as entertainment, not instruction.
Problem two: the host never tells you what to do when it goes wrong
A responsible instructional video covers failure modes. It explains what to do if the bar starts to slip, when to stop and call a professional, and what specific injury is most likely. Almost no garage door DIY content does this. The hosts present every repair as straightforward and finishable. That’s the opposite of how real technicians think. A professional assumes the worst-case outcome and plans around it. If the video doesn’t, the person in the video is probably not a professional, or is more interested in views than your safety.
How to evaluate a video in practice:
- Skip to the middle of the video. Is the host showing the actual work uncut, or is every difficult step a jump cut?
- Listen for safety language. Does the host mention what could go wrong at least once? If never, assume they don’t know.
- Check the comments for “this didn’t work for me” or injury reports. The comments section is the most honest part of YouTube.
- Ask whether the video’s solution matches your door. A torsion spring video won’t help you if you have extension springs, and a video for a Chamberlain opener won’t fix a Genie.
- If the job involves winding bars and the video doesn’t explicitly say “if the bar slips, let go and move away,” close the tab.
One more thing: the brand matters. A video about a Chamberlain opener may not translate to a Genie unit, and a door video for a Clopay steel door won’t necessarily match your Amarr. We work on all of these daily, and the differences between brands are real enough that we check compatibility before quoting any repair.
The Real Cost Comparison: Labor Saved vs the Misdiagnosis Tax
The DIY argument usually starts with labor cost. A professional garage door repair in Castro Valley typically runs between $150 and $350 for a straightforward mechanical issue, depending on the parts involved, and a full spring replacement with parts runs higher – see our Garage Door Cost Breakdown: The Castro Valley Homeowner’s Reference for 2026 for detailed pricing. Doing it yourself saves the labor portion, which sounds appealing. But that math only works if you diagnose the problem correctly on the first try.
Here’s where the comparison gets interesting, and it’s the part most cost guides skip. When a homeowner misdiagnoses a garage door issue, the cost isn’t just the wasted parts. It’s the delay in fixing the actual problem while the door remains unreliable or, worse, becomes dangerous. We see this pattern regularly in Castro Valley:
- The homeowner notices the door is slow or noisy. They assume the opener is failing and buy a new circuit board or a whole new opener.
- The new parts don’t fix it, because the actual issue is a weakening spring that the opener is now fighting against.
- The door eventually fails at the worst moment, usually when a car is inside or the homeowner is late for work.
- The final repair cost includes the wasted parts plus the actual spring replacement, and the time lost trying the wrong fix.
The misdiagnosis tax is real. A worn spring costs less than a new opener, but only if you correctly identify the worn spring before buying the opener. Professional diagnosis exists for this reason specifically. We diagnose before we quote, and the diagnosis itself often takes less time than watching a single YouTube video.
There’s also the injury cost, which no budget can reasonably plan for. A torsion spring accident that requires surgery can cost tens of thousands of dollars, with time lost from work on top. Even a fully successful DIY spring repair usually requires buying winding bars you’ll never use again, and if you get the spring strength wrong, the door won’t balance and the opener burns out sooner. The honest cost comparison favors DIY only for the safe maintenance category we listed first.
Common Mistakes to Avoid
- Using a screwdriver as a winding bar. Screwdrivers are not designed for the torque load of a torsion spring. They bend, slip, and have sent more than one Castro Valley homeowner to the emergency room. Winding bars are specific tools, and if you don’t have them, you’re doing a professional job with the wrong equipment.
- Lubricating the spring with WD-40. WD-40 is a water displacer and degreaser. It will strip the protective coating off a spring and accelerate rust. Use silicone spray on springs, rollers, and hinges.
- Adjusting the opener force settings to compensate for a worn spring. When the spring weakens, the door gets heavier, and the opener strains. Increasing force makes the door move, but it’s masking the real problem and burning out the opener’s plastic gears. The spring is the issue, not the motor.
- Replacing one spring instead of both. On a torsion system, both springs cycle together and wear at similar rates. If one has broken, the other is likely close behind. Replacing only the broken spring saves money now and triggers a second service call soon after. The price is quoted and agreed before work starts, so you’ll know the full cost up front.
- Ignoring the safety sensors after a bump. A car nudging a garage door is common in Castro Valley’s tighter driveways. Even a small impact can misalign the photo eyes slightly, causing intermittent close failures that get worse. Check sensor alignment early.
- Failing to check for a safety cable on extension springs. Older Castro Valley homes frequently have extension springs without safety cables. If yours are missing, the springs are a projectile risk. This is a professional add-on that’s quick and inexpensive.
- Trusting a video that shows a spring repair in under five minutes. Real torsion spring work takes thirty to sixty minutes with the correct tools and experience. If the video is shorter than the time it takes to gather the tools, you’re watching a highlight reel, not instruction.
When to Call a Professional
Call a professional the moment the repair involves a torsion spring, a lift cable, or any component that requires winding bars, cable clamps, or tension gauges. Those tools exist for a reason, and the reason is that the forces involved can cause serious injury. Also call if you’ve already attempted a fix and the door behaves the same or worse, because multiple failed diagnoses stack cost and delay. If your door makes a loud snap and won’t open, the spring has broken, and this is one of the most common garage door failures in Castro Valley. That’s not a judgment call. It’s a category. Garage door repair in Castro Valley is what we do, and we handle the spring work so you don’t have to. Compass Garage Door Repair offers free estimates in Castro Valley, call (855) 356-4948, and the price is quoted and agreed before any work starts.
Frequently Asked Questions
Garage door spring replacement in Castro Valley typically costs between $250 and $550, including parts and labor for a double spring torsion system, with extension spring systems usually running slightly lower. The exact price depends on your door’s weight, the spring size, and whether you have a torsion or extension setup. Call (855) 356-4948 for an exact quote on your door, estimates are free and the price is confirmed before work begins.
Yes, replacing an entire opener unit is possible for a careful homeowner with a full afternoon, basic wiring knowledge, and a helper for the heavy lifting, though you should check Garage Door Permits, Codes & Inspections in CA: What You Need to Know before starting. The mechanical risk is low, but the install involves mounting the rail, setting travel limits, and adjusting force settings correctly. If the opener is a Genie, Chamberlain, or LiftMaster, the wiring and settings vary between brands, and getting them wrong shortens the opener’s life.
Yes, lubricating rollers, hinges, and the opener rail is safe and should be done by the homeowner twice a year. Use a silicone-based lubricant on metal parts and avoid WD-40, which strips protective coatings and encourages rust. This is one of the highest-value DIY tasks in Castro Valley, where dry summers accelerate wear on moving parts.
Torsion springs are wound on a shaft above the door and store torque, while extension springs stretch horizontally above the track and store tensile force. Torsion spring repair is more dangerous because the winding process requires transferring spring energy through bars, and extension spring repair carries its own projectile risk on older systems without safety cables. Both are professional-only tasks.
A broken torsion spring makes a loud snap sound, like a firecracker or a gunshot, and leaves a visible gap in the coil above the door. A broken extension spring shows a two-piece spring hanging loose above the track. Either way, don’t attempt to open the door by hand, and call for service before the door’s weight damages other components.
No, the quote you receive is the price you pay, and it’s agreed before any work starts. The estimate may account for your specific door brand, whether it’s a Clopay, Amarr, or Wayne Dalton, because parts compatibility varies, but the price won’t shift once the job begins. Call (855) 356-4948 for a free estimate.
The Bottom Line
The DIY versus professional decision comes down to stored energy, not skill. Lubrication, weatherstripping, hardware tightening, and sensor realignment are homeowner tasks that save money and extend door life in Castro Valley’s climate. Anything involving springs, cables, or tensioned components is professional work, and the injury risk isn’t a remote possibility, it’s the expected result when the wrong tool slips. The cost of hiring a professional in the right category is usually less than the cost of a misdiagnosed DIY fix, and it’s always less than the cost of a spring accident. If you’re unsure where your repair falls, call Compass Garage Door Repair at (855) 356-4948 for an honest assessment, whether it’s the door, the opener, or both. The garage door opener repair team and our garage door installation specialists handle the full scope, so one call covers whatever your Castro Valley garage needs.
Back to the Compass Garage Door Repair home page.
Written by the team at Compass Garage Door Repair, serving Castro Valley since 2018.
See the difference
 Before
 After
 Before
 After
 Before
 After