
Last updated November 2, 2026
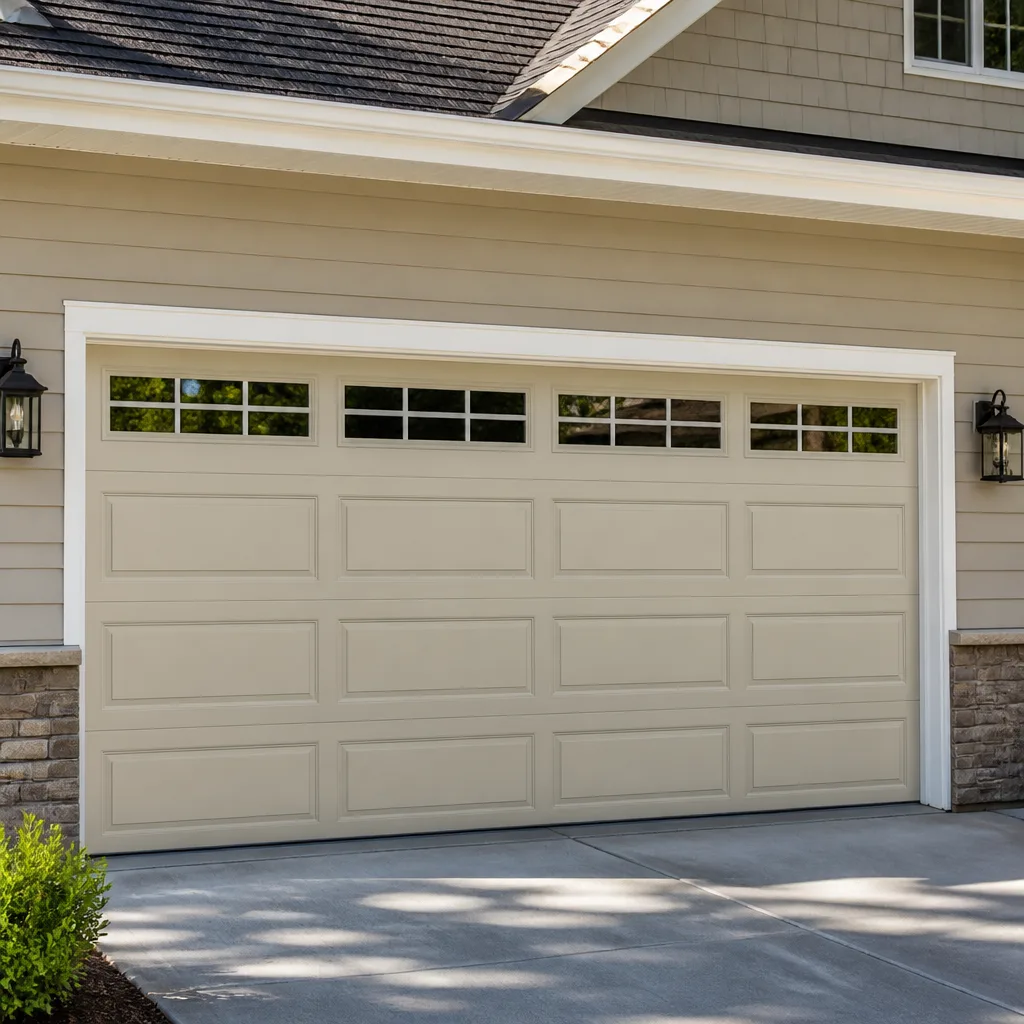 Raised-panel steel
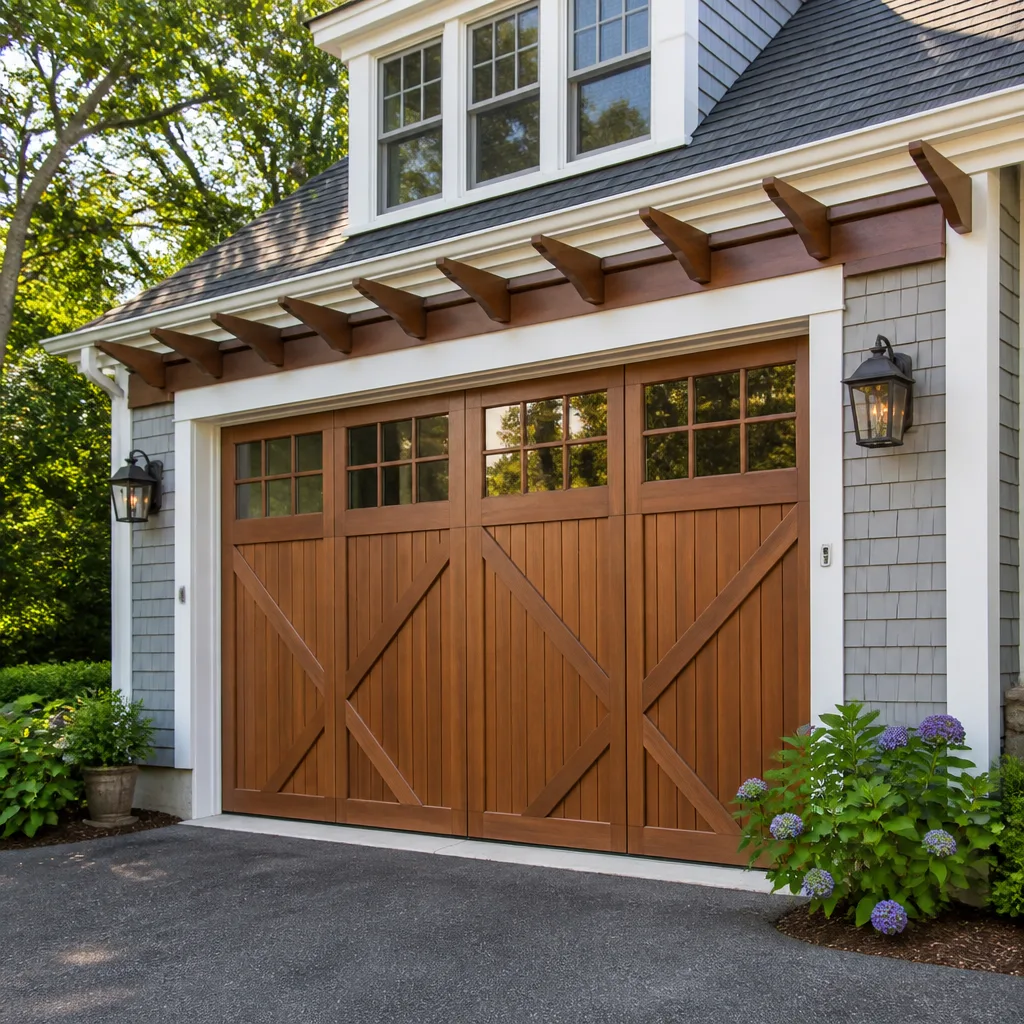 Carriage house
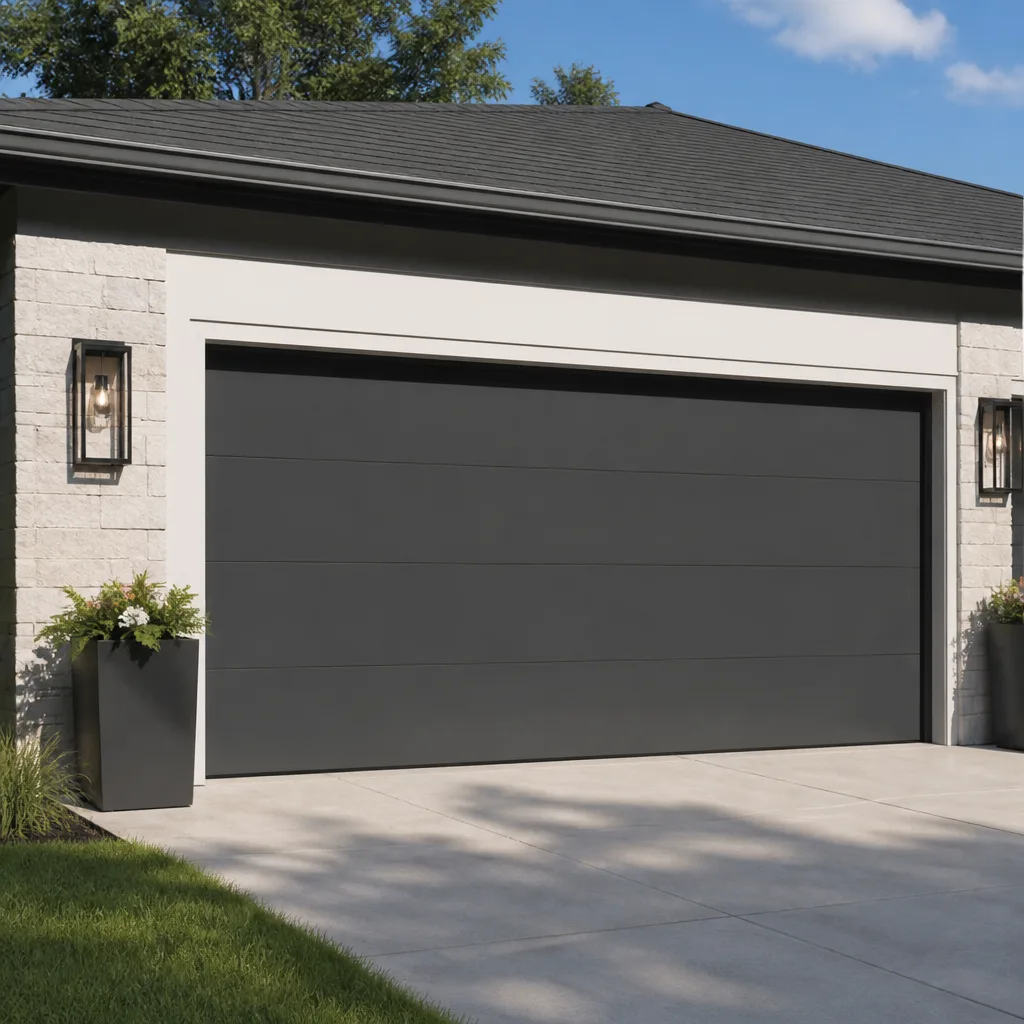 Modern flush
 Full-view glass
 LiftMaster openers
 Chamberlain openers
Full 25-point door and opener safety check with every visit - springs, cables, rollers, tracks, and your LiftMaster or Chamberlain opener included
You get a price before we start. It does not change when the truck arrives.
Get your free estimateGarage Door Repair Maintenance Checklist for Castro Valley Homeowners
The most-skipped item on every generic garage door maintenance checklist is also the one most likely to cause a door to fall off track in a Castro Valley home over 20 years old: checking cable drum alignment. Most guides tell you to lubricate the rollers and call it a day. They rarely explain that the steel torsion springs above your door are slowly rusting from the inside out, or that a cable drum winding unevenly by a few millimeters today becomes a door hanging crooked, jamming, and eventually dropping by next spring. This guide is built differently. It’s organized around the failure patterns we actually see in Castro Valley, where bay humidity meets inland heat swings, and older mid-century housing stock meets brand-new smart openers. By the time you finish reading, you’ll know exactly what to check, what you’re looking for, why it matters, and which tasks are safe for a homeowner versus which ones need a trained eye.
Styles & brands we work with
- Raised-panel steel
- Carriage house
- Modern flush
- Full-view glass
- LiftMaster openers
- Chamberlain openers
Quick Answer
A proper garage door maintenance checklist for Castro Valley homeowners should cover monthly visual inspections of rollers, cables, and drums; a two-step auto-reverse safety test on the opener; lubrication of moving parts twice a year; and a seasonal deep-check timed to Castro Valley’s wet winter and hot, dry summer. Most tasks take under 20 minutes and require no special tools. The items that matter most in this climate are rust prevention on torsion spring coils and early detection of cable drum misalignment, both of which accelerate faster here than in drier inland communities like Dublin or Pleasanton.
Table of Contents
- Why Castro Valley Weather Is Harder on Garage Doors
- The 10-Minute Monthly Visual Inspection
- Rollers, Cables, and Drums: What Wear Actually Looks Like
- Torsion Spring Rust in Castro Valley: The Slow Killer
- Testing Auto-Reverse Safety: The Two-Step Method
- Lubrication the Right Way (and What Not to Lubricate)
- A Seasonal Maintenance Schedule for Castro Valley’s Climate
- Common Mistakes to Avoid
- When to Call a Professional
- Frequently Asked Questions
- The Bottom Line
Why Castro Valley Weather Is Harder on Garage Doors
Castro Valley sits in a microclimate that most maintenance guides never account for. We’re close enough to the bay that marine air pushes in through the San Leandro corridor on summer mornings, carrying salt-tinged moisture. Then the afternoon sun burns through and interior temperatures swing 30 degrees or more. That daily cycle, repeated for months, drives condensation into garage spaces and onto metal surfaces.
For your garage door, the practical result is this: torsion spring coils rust faster in Castro Valley than they do in Tracy or Livermore, where the air stays drier. Rust isn’t just cosmetic on a spring. Each coil on a torsion spring is under hundreds of pounds of rotational tension. When surface rust forms, it creates microscopic pitting. Over time, those pits become stress points. A spring that would have lasted 10,000 cycles in a dry climate might fail at 7,000 or 8,000 cycles here. That’s the difference between replacing a spring this year versus three years from now.
The same humidity affects the hardware too. Hinges, bearing plates, and cable drums all develop surface corrosion that increases friction. Increased friction means the opener motor works harder. A harder-working motor runs hotter. Hotter motors fail sooner. None of this shows up as an obvious problem until something breaks. That’s why the maintenance approach in Castro Valley has to be more rust-aware than what a national checklist will ever tell you.
Our housing stock matters too. Much of the residential garage inventory in neighborhoods like Palomares Hills, Castro Valley proper, and the older homes along Redwood Road was built between the 1950s and 1980s. Those doors were engineered before modern thermal breaks and sealed bearings became standard. The original garage doors on those homes, if still in service, are now 40 to 70 years old. That’s not a liability by itself. But it does mean the margin for neglected maintenance is thinner than it is on a newer home in the hills above Five Canyons.
The 10-Minute Monthly Visual Inspection
This is the single highest-value task on the checklist. You don’t need tools. You don’t need mechanical skill. You need a flashlight, ten minutes, and the willingness to actually look at the parts instead of just pressing the remote and walking inside. Here’s the exact sequence we recommend.
- Open the door halfway. Stop it mid-cycle. You’re looking at the profile of the door from the inside of the garage. The bottom edge should be perfectly parallel to the floor. If one side hangs lower than the other by a quarter inch or more, you have a cable tension imbalance developing.
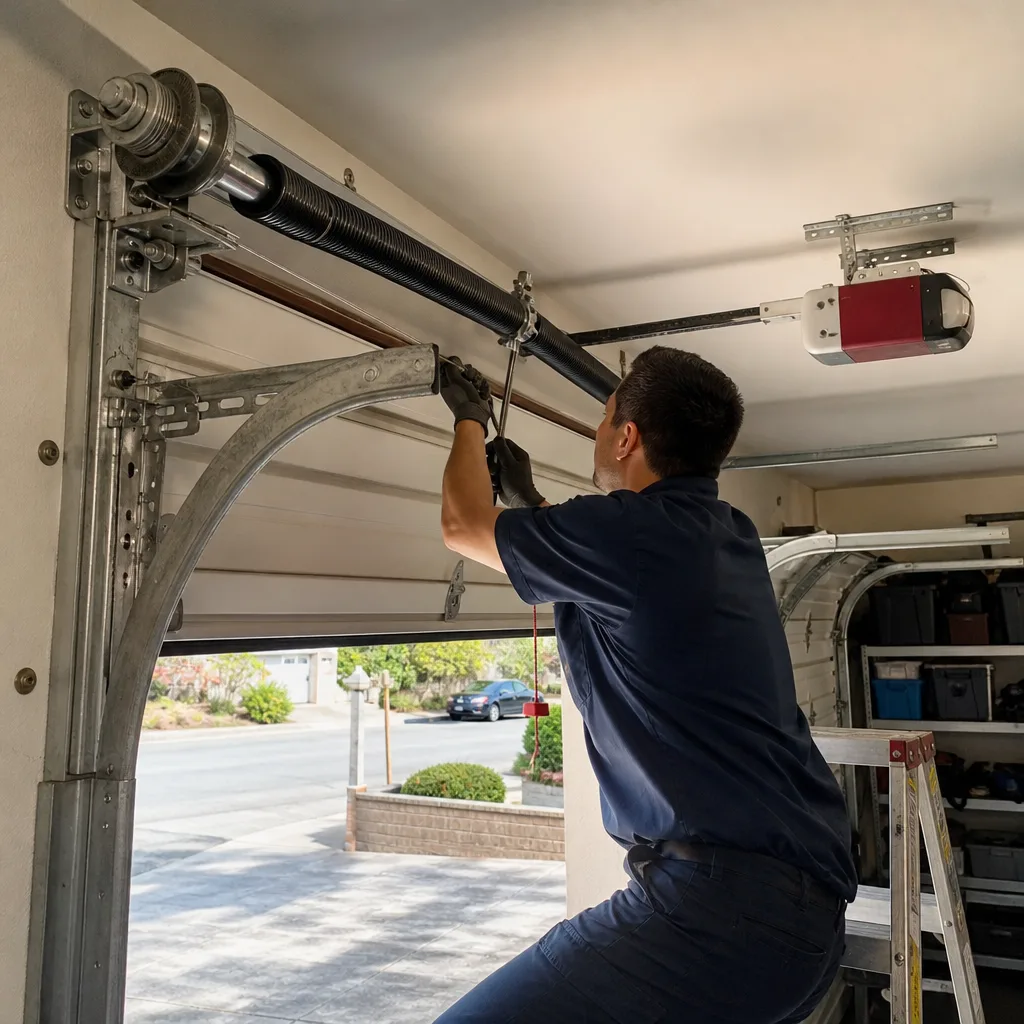
- Look at both cable drums. These are the round pulleys at each end of the torsion bar above the door. The cable should wind onto each drum in a tight, even spiral, with no gaps and no overlapping coils. Any difference between the left and right drum is the first sign of a door that will eventually jam or fall off track.
- Trace both cables end to end. Cables should be taut, free of rust, and free of fraying. Run your eyes along the entire visible length. Any strand that looks puffed out or broken anywhere along the cable means replacement is due. Do not touch the cable. Looking is the entire task.
- Check each roller. You have 10 to 12 rollers depending on your door configuration. Each one should sit flush in its track. A roller that looks tilted, has a visible wobble when the door moves, or doesn’t contact the track consistently is talking to you.
- Listen while the door runs. Open and close the door once at normal speed. It should sound smooth, with no clicking, scraping, or grinding. A high-pitched squeal usually means dry rollers or hinges. A rhythmic thumping usually means a bent track or a loose hinge.
We call this “looking for the problem before it knows you’re looking.” Most garage door failures give visual warning weeks or months in advance. The homeowners who catch a frayed cable during a monthly check are the ones who never experience a door jammed open at 7 a.m. on a workday. If you need a baseline assessment, garage door repair in Castro Valley starts with the same visual inspection we’ve described here.
Rollers, Cables, and Drums: What Wear Actually Looks Like
Here’s the thing most checklists leave out: these parts rarely fail suddenly. They degrade on a predictable timeline, and the warning signs are visible if you know what to look for. The problem is that most homeowners don’t. They see a roller that’s slightly tilted and assume it’s always been that way. They see a cable with a couple of rust spots and file it under “probably fine.”
Rollers: The Difference Between Nylon and Steel
Modern garage doors typically use nylon rollers with sealed ball bearings. Older Castro Valley homes often still have steel rollers, particularly if the door is original to a home built before the 1990s. Steel rollers are louder and they wear the track over time. But that’s not the immediate concern. The immediate concern is what happens when the bearing inside any roller starts to fail. The roller stops spinning freely. Instead of rolling along the track, it starts dragging. You’ll hear a grinding or clicking sound. The door will feel heavier. And here’s what’s easy to miss: a dragging roller doesn’t just wear out the roller. It wears out the track, the hinges, and eventually the opener motor, because the motor is now pulling the entire door against the resistance of that one seized roller.
What to look for: any roller with visible side-to-side play, any roller that doesn’t spin when the door is in motion, and any roller where the outer wheel has flat spots or visible wear. A roller that’s worn costs $10 to $20 in parts. An opener that burns out because it’s been fighting a bad roller for two years costs $300 to $500. The roller is the cheapest early-warning system you own.
Cables: Fraying Happens in Stages
Lift cables on a residential garage door are galvanized steel wound into a multi-strand bundle. They carry the full weight of the door every time it opens and closes. In Castro Valley’s humid air, the galvanization slowly breaks down. You’ll first notice a dull gray or brown discoloration. That’s surface oxidation. It’s not immediately dangerous, but it’s a sign the cable is aging. The next stage is pitting, where you can actually see small depressions in the metal. The stage after that is fraying, where individual strands start to separate from the bundle. Once you see fraying, the cable is done. It could break next week or it could last another six months, which is exactly why you don’t gamble on it. A broken lift cable releases tension on one side of the door, and the door comes down hard and crooked. The repair is more expensive than a cable replacement would have been.
Drums: The Alignment Check Nobody Does
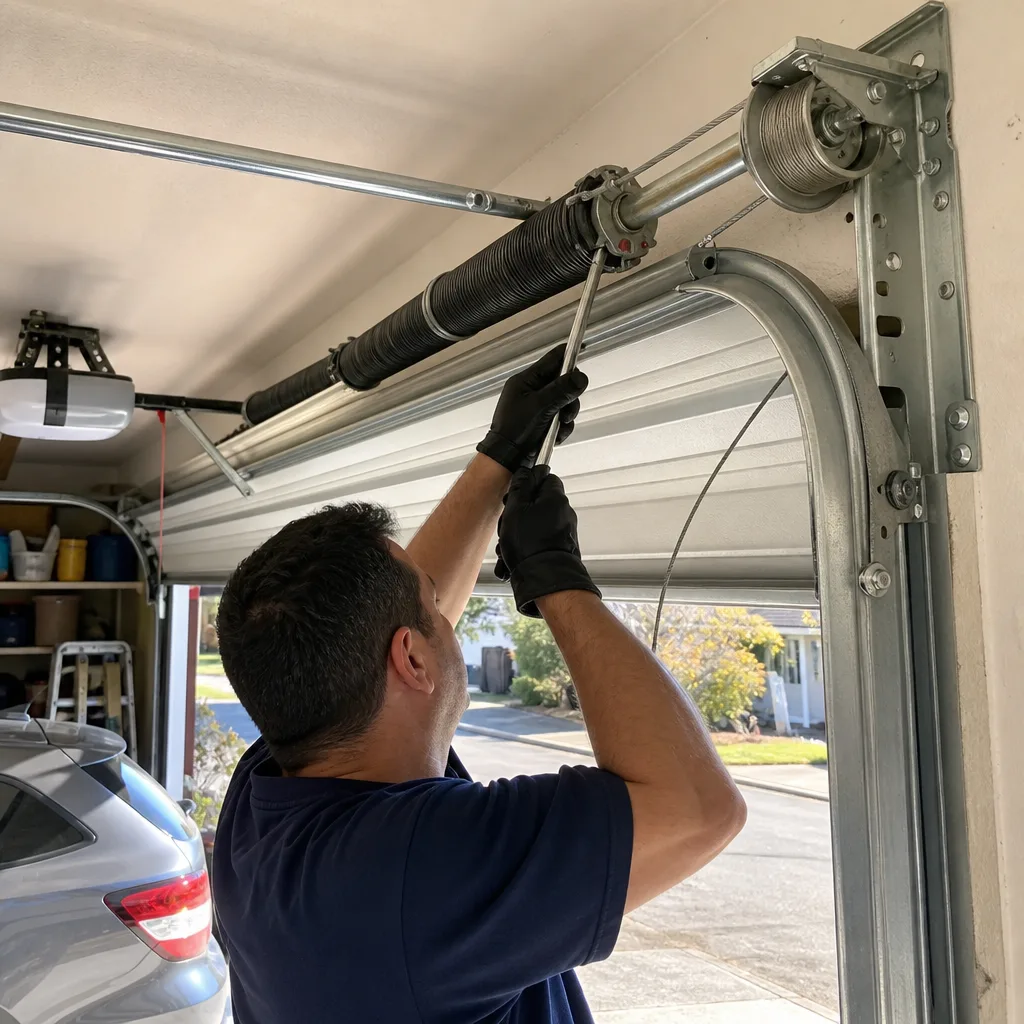
Cable drums are machined cylinders mounted on the torsion bar. Their job is to take up the lift cable in a perfect spiral as the door opens. When a drum is misaligned on the bar, or when the set screws that hold it in place loosen, the drum starts winding the cable unevenly. One side of the door rises faster than the other. The door visibly tilts. If you catch it at this stage, the fix is usually straightforward for a trained technician. If you don’t, that uneven winding creates slack in one cable. The slack allows the cable to jump the drum entirely. When that happens, the door drops on one side, and you’re looking at a bent track, a damaged panel, and a more expensive repair. For homeowners with older doors, garage door opener repair in Castro Valley often starts with drum and cable alignment, because a door that’s binding is what kills opener motors in the first place.
Torsion Spring Rust in Castro Valley: The Slow Killer
There’s a phrase we use internally that explains most of the spring failures we see in the Castro Valley hills: “rust kills springs, springs don’t kill themselves.” Torsion springs are rated for a certain number of cycles, typically 10,000 on a standard residential door, and up to 20,000 or more on high-cycle springs. That rating is based on a spring that lives in a clean, dry, lubricated environment. Almost no garage in Castro Valley meets that description.
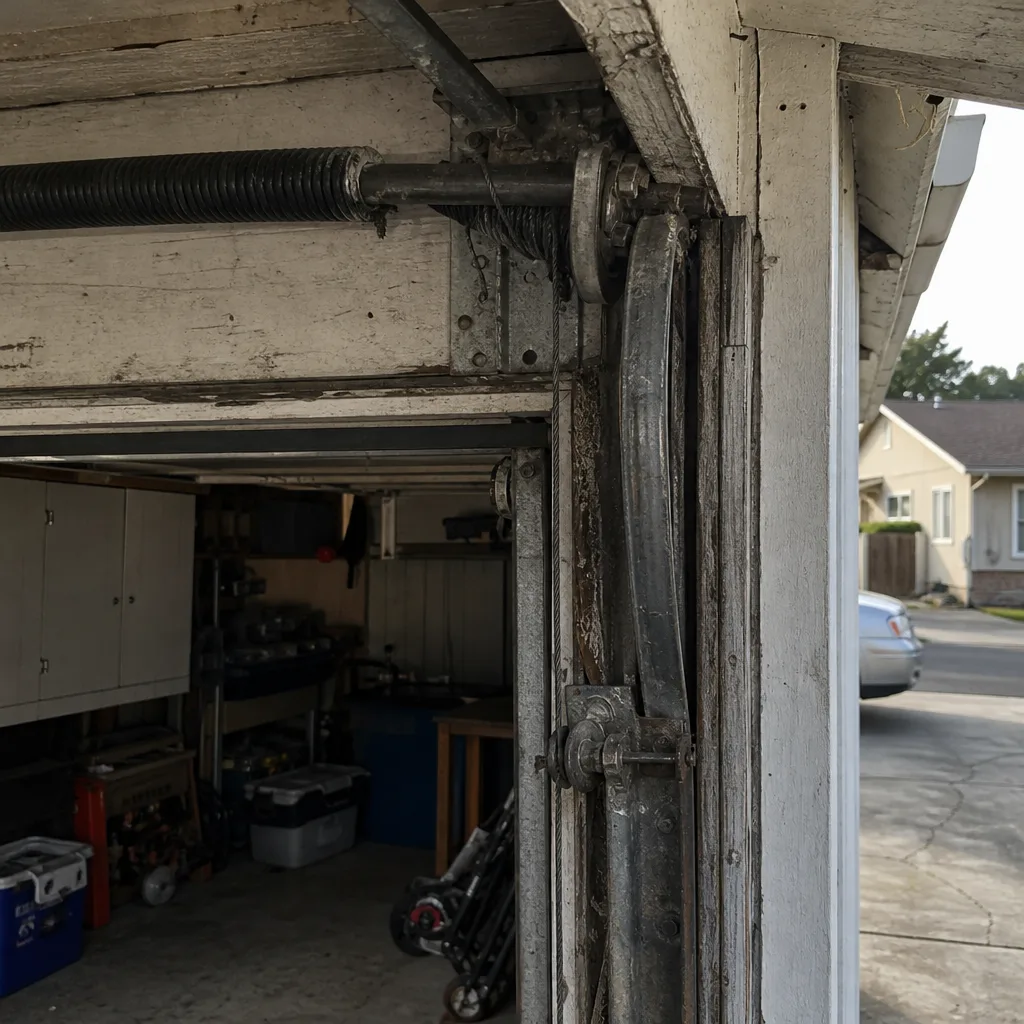
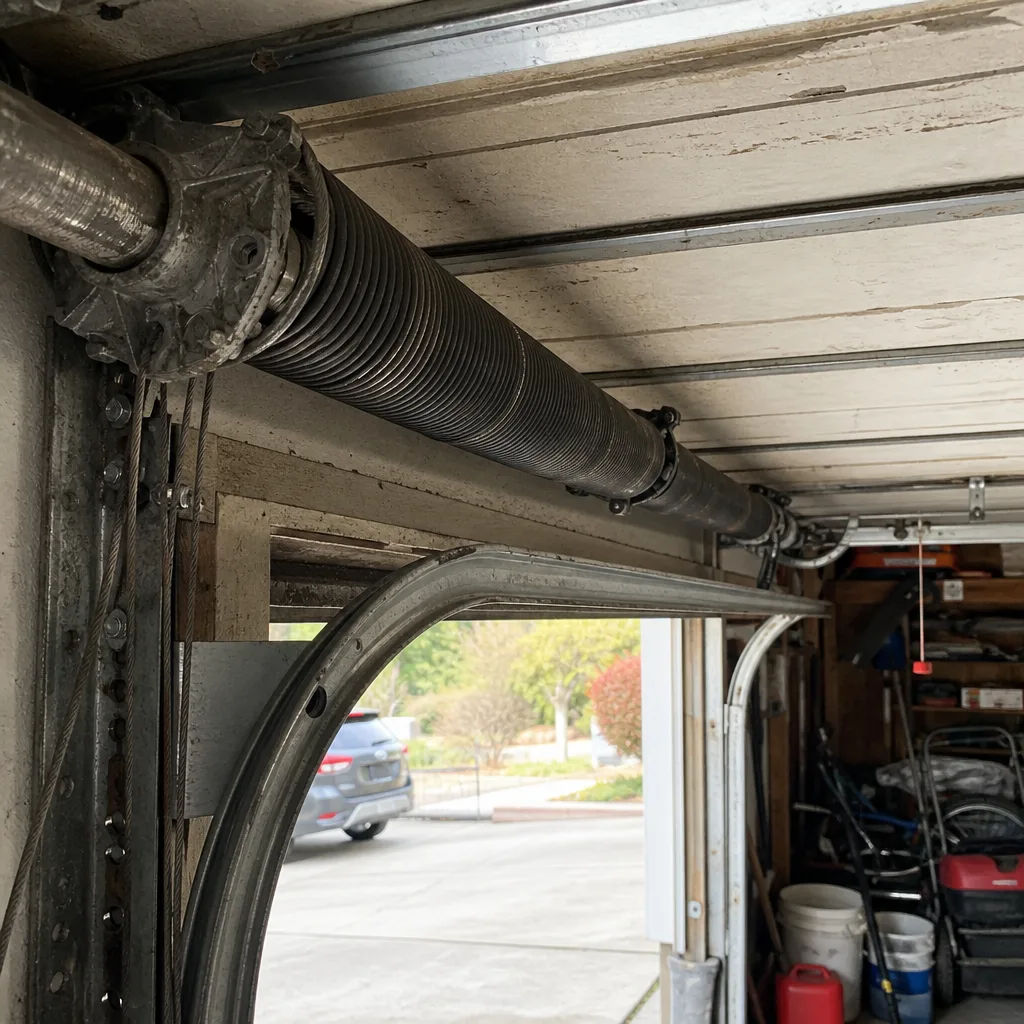
The daily humidity cycle we described earlier settles condensation on the spring coils. The front coil faces get hit first, then the moisture creeps into the gaps between coils. Once rust establishes itself, it creates two problems. The first is friction. As the spring winds and unwinds thousands of times, the coils slide against each other. Rusty coils don’t slide cleanly. They bind, grind, and generate heat. The second problem is more serious: rust pitting creates stress concentrations. A torsion spring is essentially a long, tightly-wound coil of hardened steel under enormous tension. Any surface irregularity becomes the point where a crack eventually starts. When the spring finally fails, it’s not gradual. It snaps, loudly, often startling enough to sound like a gunshot inside the garage.
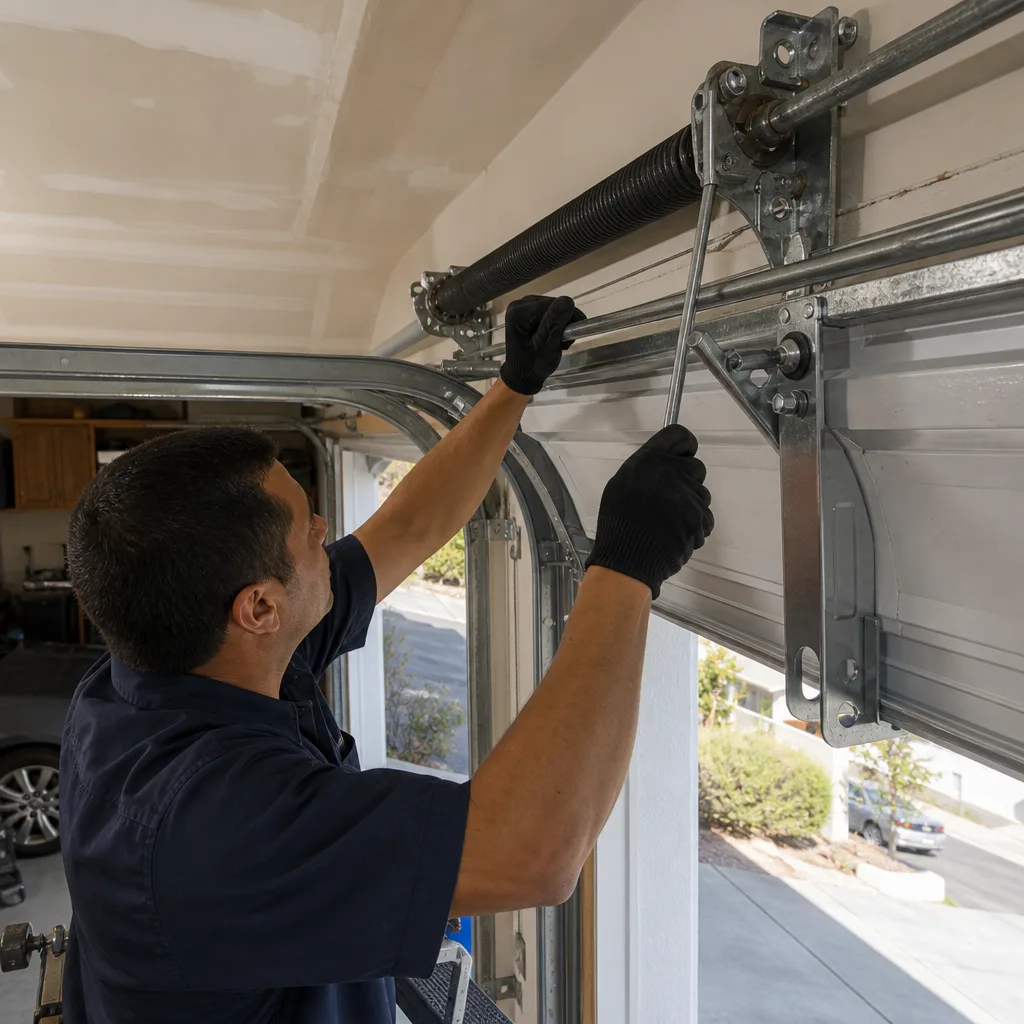
Here’s what a homeowner can safely do: inspect the springs visually twice a year, in March and September. Look for brown or orange discoloration on the coil faces, particularly on the side that faces the garage door opening. Look for flaking or scaling. If the rust is purely superficial and the spring still has its factory finish in places, you can help slow the process by wiping the coils down and applying a light coat of silicone spray or a dedicated garage door lubricant. This is a maintenance task, not a repair. If the spring shows significant pitting, visible cracks, or if you can see daylight between coils in a section where the coils used to sit tight, that spring needs professional evaluation. We do not recommend any homeowner attempt to remove, repair, or replace a torsion spring. The stored energy in a wound torsion spring is enough to cause serious injury or death. That’s not a scare tactic. It’s the single most dangerous component on any residential property.
Testing Auto-Reverse Safety: The Two-Step Method
Every garage door opener manufactured since 1993 is required by federal law to have an auto-reverse function that stops and reverses the door if it encounters an obstruction while closing. That’s the mechanical safety system. There’s also the photoelectric sensor system, the two small units mounted on either side of the door opening a few inches off the floor, which detects anything passing between them while the door is in motion. Both systems should be tested regularly. Most homeowners do neither.
Step One: The Sensor Test
With the door open, press the close button. As the door begins to move down, wave your hand or a broomstick through the path between the two photo sensors at floor level. The door should stop immediately and reverse to the open position. If the door keeps closing, the sensors are either misaligned, dirty, or failing. This test takes five seconds. Do it once a month. It validates the system that protects children and pets from a closing door, and a garage door is one of the heavier moving objects on your property. An 8-foot door can weigh 150 pounds or more.
Step Two: The Mechanical Contact Test
This is the step almost nobody does. Place a solid object on the floor directly beneath the closing door’s path. A wooden block, a cinder block, or a thick cardboard box works. The key is that the object has enough resistance to actually trigger the mechanical reversal, not just the photo sensor. Press the close button. The door should contact the object, sense the resistance, and reverse within two seconds of contact. It should not crush the object. It should not stall. It should reverse cleanly and fully.
The reason this two-step test matters is that the photo sensors and the mechanical reverse are separate systems that can fail independently. A door can pass the sensor test and still have a failed or misadjusted mechanical reverse, which means it would crush anything in its path if the sensors were blocked or bypassed. If the auto-reverse fails either test, it’s not just a maintenance issue. It’s a safety defect that should be addressed immediately. On newer openers from Genie, LiftMaster, or other major brands, both tests are straightforward to run. If you’re uncertain about your opener’s specific controls, garage door opener repair in Castro Valley addresses safety-system diagnostics as a core part of the service.
Lubrication the Right Way (and What Not to Lubricate)
Lubrication is the single most commonly recommended maintenance task for garage doors. It’s also the most commonly botched. Using the wrong product, or lubricating the wrong components, does more harm than skipping it entirely.
What to Use
You want a lubricant formulated for garage doors. That means a silicone-based spray or a white lithium grease in a spray form. These products stick to metal surfaces, don’t run off, and don’t attract dirt. You can find them at any hardware store in Castro Valley. Do not use WD-40 as a lubricant. WD-40 is a penetrant and water displacer. It’s fine for loosening a rusted bolt, but it’s not a garage door lubricant. It dries quickly, strips away existing lubrication, and leaves metal surfaces more vulnerable to rust. Do not use grease from a tub. It clings, collects dust and grit, and turns into an abrasive paste inside rollers and hinges.
What to Lubricate
- Roller bearings. For nylon rollers with sealed bearings, spray where the roller meets the stem. For steel rollers, spray the ball bearings on both sides of each wheel.
- Hinges. Every hinge is a pivot point. A short spray on each hinge where the metal plates meet.
- Torsion spring coils. Spray along the length of the spring while the door is closed, so the spring is under tension and the gaps between coils are open. This is the rust prevention step that matters most in Castro Valley.
- Bearing plates. The steel plates at each end of the torsion bar that support the bar as it rotates.
- Lift cables. A light coat on each cable. This is more about corrosion protection than friction, but it helps.
What Never to Lubricate
- The track. The rollers are designed to roll on bare metal. Lubricating the track doesn’t reduce friction meaningfully, but it does create a sticky surface that collects dust and grime. If your door sounds like it needs track lubrication, what it actually needs is dealer track cleaning or roller replacement.
- The belt or chain on the opener. Genie, LiftMaster, and Chamberlain belt-drive openers use a reinforced rubber belt that does not require and should not receive lubrication. Chain-drive openers can sometimes benefit from a light oil, but most modern chains are pre-lubricated at the factory. Check your opener’s manual before touching it.
For most Castro Valley homes, twice a year is the right lubrication interval. We recommend early March and late September. The March session preps the door for the wet, rust-prone transition into spring fog season. The September session preps it for the dry, dusty heat of late summer and early fall, which is when dirt and grit accumulate most aggressively.
A Seasonal Maintenance Schedule for Castro Valley’s Climate
Generic maintenance guides tell you to service your garage door in spring and fall. For Castro Valley, that advice is either slightly wrong or uselessly vague. Here’s what the local weather actually means for a garage door on a month-by-month basis, and when we recommend scheduling each task.
September to October: The Critical Window
Late summer in Castro Valley means hot, dry days and the tail end of the inland heat season. This is when moving parts are at their dirtiest. Dust and fine grit kicked up by dry conditions settles into hinges, rollers, and bearing points. October is also the start of fire season, when power outages and high winds can test battery backup systems on newer openers. The September-October window is when we recommend the most comprehensive maintenance of the year: full inspection, lubrication, safety-system testing, and tightening of all hardware. It preps the door for the entire rainy season in one pass.
November through March: The Rust Season
Winter in Castro Valley isn’t harsh by national standards, but it’s consistently damp. Fog, rain, and low overnight temperatures keep garage interiors wet for weeks at a time. This is when rust formation on springs and cables accelerates. The November-through-March window is when monthly visual inspections matter most. You’re not doing major maintenance during these months. You’re doing early detection. A spring that starts showing rust in January is a spring you want to address in March, before the weather warms up and the corrosion compounds with temperature cycling.
April through June: Transition and Belt Tightening
Spring in the Bay Area is mild, which makes it the easiest season on a garage door mechanically. But it’s when we see loose hardware from winter vibrations. Hinges and track bolts loosen over time due to the normal push-pull forces of opening and closing. A seasonal tightening pass in April catches loose hardware before it becomes a rattling, misaligned door. It’s also a good time to check the balance of the door itself, which is a task that requires disconnecting the opener and manually lifting the door to half-height. A properly balanced door stays put when you release it. If it falls closed or shoots open, the spring tension is off.
July through August: The Dust Months
Peak dry season is when airborne dust is highest. If your garage faces a dirt driveway, an unpaved road, or is near open hillside, your rollers and hinges are accumulating grit faster than a home in the flatter central part of Castro Valley. A mid-summer cleaning pass, where you wipe down tracks and check for grit buildup on rollers, prevents the abrasive wear that compounds over years. It’s not a lubrication session. It’s a cleaning and inspection session.
Common Mistakes to Avoid
- Using WD-40 as a garage door lubricant. It’s a penetrant, not a lubricant. It dries quickly, strips protective oils, and leaves metal surfaces vulnerable to the exact rust Castro Valley humidity promotes. Use a silicone spray or lithium spray instead.
- Adjusting or removing torsion springs without training. The stored tension in a wound spring is concentrated enough to cause catastrophic injury. No amount of YouTube tutorial time makes this a safe DIY project. This is the one task on this entire page where the professional recommendation is absolute.
- Lubricating the track rails. The rollers don’t need a lubricated surface to roll on. They need a clean one. Greasy tracks collect dust and grime, which then coats the rollers and accelerates wear.
- Skipping the mechanical auto-reverse test. Photo sensors can work perfectly while the mechanical contact-reverse system is dead. A door that crushes objects is a door that could crush a person. The two-step test catches failures the one-step test misses.
- Ignoring cable drum misalignment because “the door still opens.” A door that’s a quarter-inch out of level is already telling you a drum is winding unevenly. It will get worse, and the failure mode is a fallen door. Early adjustment is cheap. Repairing a dropped door is not.
- Treating rust on springs as cosmetic. In Castro Valley’s humidity cycle, surface rust becomes pitting within months, and pitting becomes spring failure. Rust is a functional problem, not an aesthetic one.
- Assuming a new opener means a healthy door. We replace opener motors that were killed by pre-existing door problems more often than we replace ones that failed on their own. If your door is heavy, binding, or out of balance, a new opener is just a temporary mask over the underlying problem.
When to Call a Professional
Some tasks on a garage door are safe for a homeowner. Some are not. The line is simple: anything that involves tension-bearing components, spring adjustment, cable replacement, or door balancing is professional territory. If your visual inspection reveals a fraying cable, a significantly rusted or cracked spring, a door that won’t stay in place when manually lifted, or a drum that’s clearly winding unevenly, stop inspecting and start calling. These are not maintenance items. They’re repair items, and delaying them makes the eventual repair more expensive and more dangerous. Compass Garage Door Repair offers free estimates in Castro Valley. Call (855) 356-4948 and we’ll assess the door, explain exactly what’s wrong and what it costs, and nothing gets quoted or started without your sign-off. For a full picture of what repair work looks like in this area, see our guide to Garage Door Repair in Castro Valley. If the problem is in the motor rather than the door itself, Garage Door Opener Repair in Castro Valley is the place to start. And if the door has reached the point where maintenance is no longer worth it, Garage Door Installation in Castro Valley walks through replacement options.
Frequently Asked Questions
If you do the monthly inspections and seasonal lubrication yourself, your only cost is the lubricant, which runs $10 to $20 per can and lasts a full year. A professional maintenance tune-up in Castro Valley typically costs between $80 and $150, depending on the door type and opener brand. That includes adjustment, inspection, and safety testing. Call (855) 356-4948 for an exact quote – estimates are free.
Twice a year is the right interval for this climate. Once in early March, before the damp spring fog season, and once in late September, before the dry dusty conditions of late summer. Homes on unpaved roads or near open hillside may benefit from a third mid-summer lubrication pass.
Most inspection and lubrication tasks are safe for a homeowner with no special training. The monthly visual inspection, the auto-reverse safety test, and seasonal lubrication are all DIY-appropriate. Anything involving spring adjustment, cable replacement, or door balancing should be handled by a trained technician. The tension in a torsion spring is stored energy, and it’s the one component where DIY approaches carry serious injury risk.
Any silicone-based or white lithium spray lubricant labeled for garage doors will work. Products sold specifically for LiftMaster, Chamberlain, or Genie systems are just branded versions of the same chemistry. The brand matters less than the type: silicone or lithium spray, never a penetrating oil, never heavy grease.
A loud bang during operation usually indicates a spring issue, a cable drum slipping, or a roller jumping a track seam. If the bang is accompanied by the door visibly shaking or shifting, stop using the door and schedule an inspection. A spring that’s slipping on the torsion bar can cause sudden, violent movement, and continued use makes the repair worse. Text or call (855) 356-4948 to describe what you’re hearing – we’ll give you an honest read on whether it needs immediate attention or can wait.
A standard torsion spring rated for 10,000 cycles typically lasts 7 to 10 years in Castro Valley’s humid climate, assuming the door is used two to three times daily. High-cycle springs rated for 20,000 cycles can last 12 to 15 years. Rust and humidity shorten that lifespan noticeably compared to drier climates further inland. If your springs are showing significant rust or have passed the 7-year mark, we recommend proactive evaluation before they fail. For full replacement options, Compass Garage Door Repair home is the place to start.
The Bottom Line
A garage door maintenance checklist only earns its keep if it’s built around the specific conditions of where the door lives. In Castro Valley, that means rust awareness from bay humidity and inland heat swings, early detection of cable drum misalignment on aging housing stock, and a two-step safety test that most homeowners never run. The monthly visual inspection takes ten minutes and catches most failures before they happen. Twice-yearly lubrication slows the corrosion that kills springs prematurely. And knowing which tasks are safe to handle versus which require a trained professional is the difference between a $20 maintenance item and a $500 repair. If any part of this guide raised a question about your own door, call (855) 356-4948 for a free estimate. We’ll diagnose what’s actually wrong, quote the price before any work starts, and leave the door moving like it should.
Written by the team at Compass Garage Door Repair, serving Castro Valley since 2018.
See the difference
 Before
 After
 Before
 After
 Before
 After