
Last updated November 2, 2026
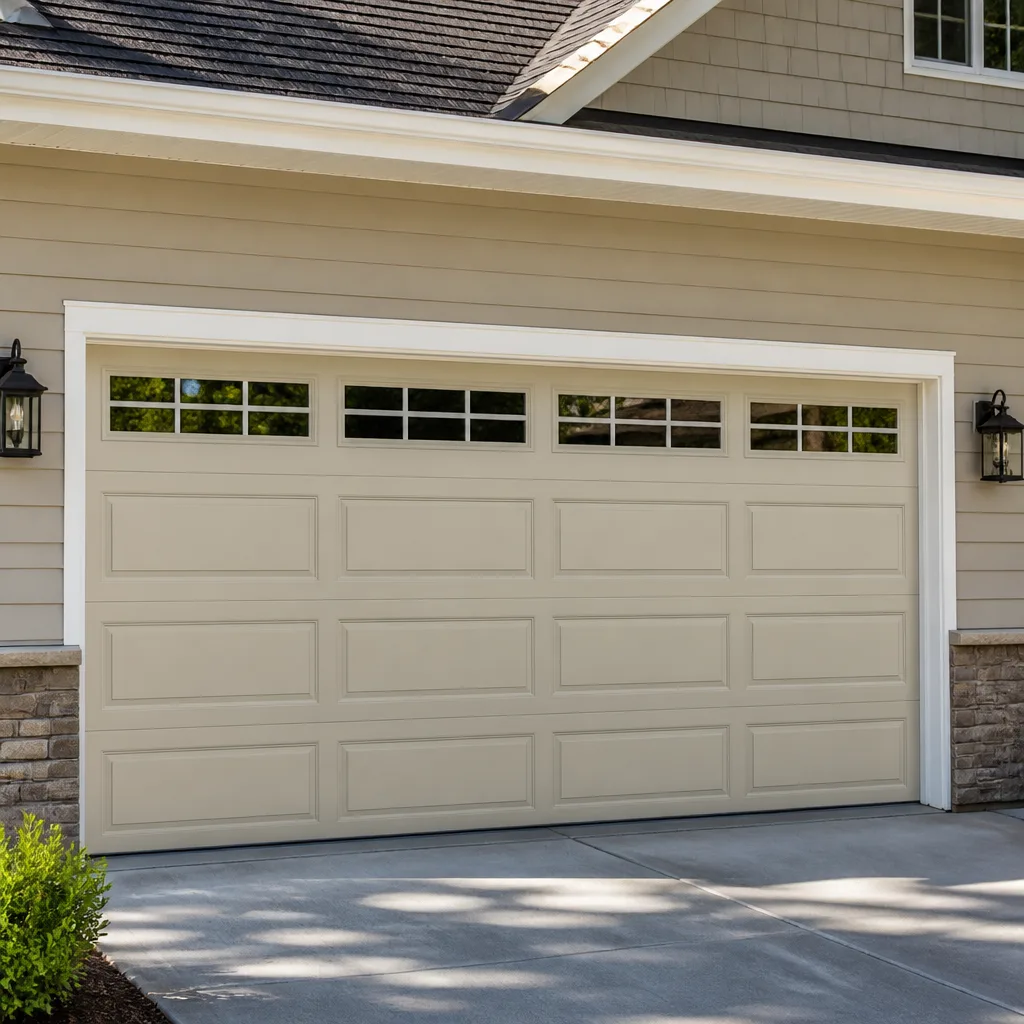 Raised-panel steel
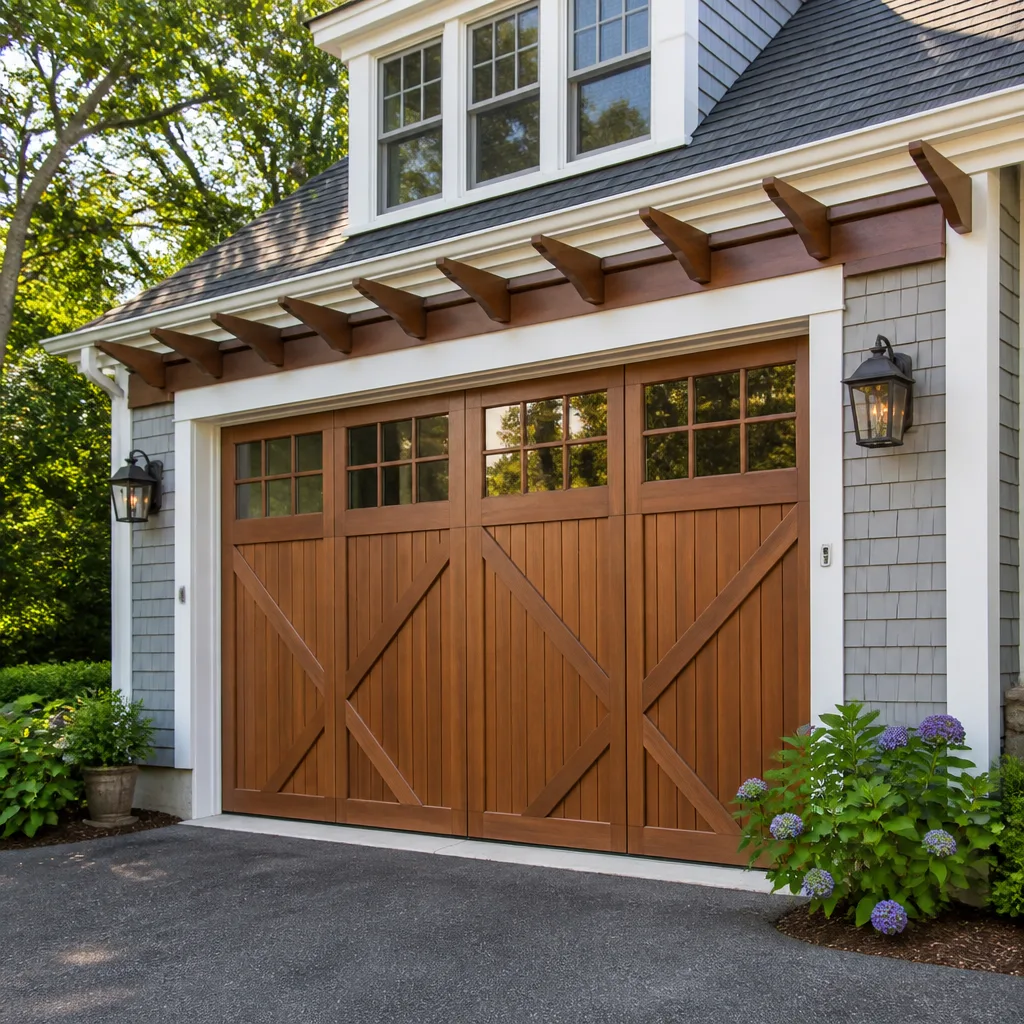 Carriage house
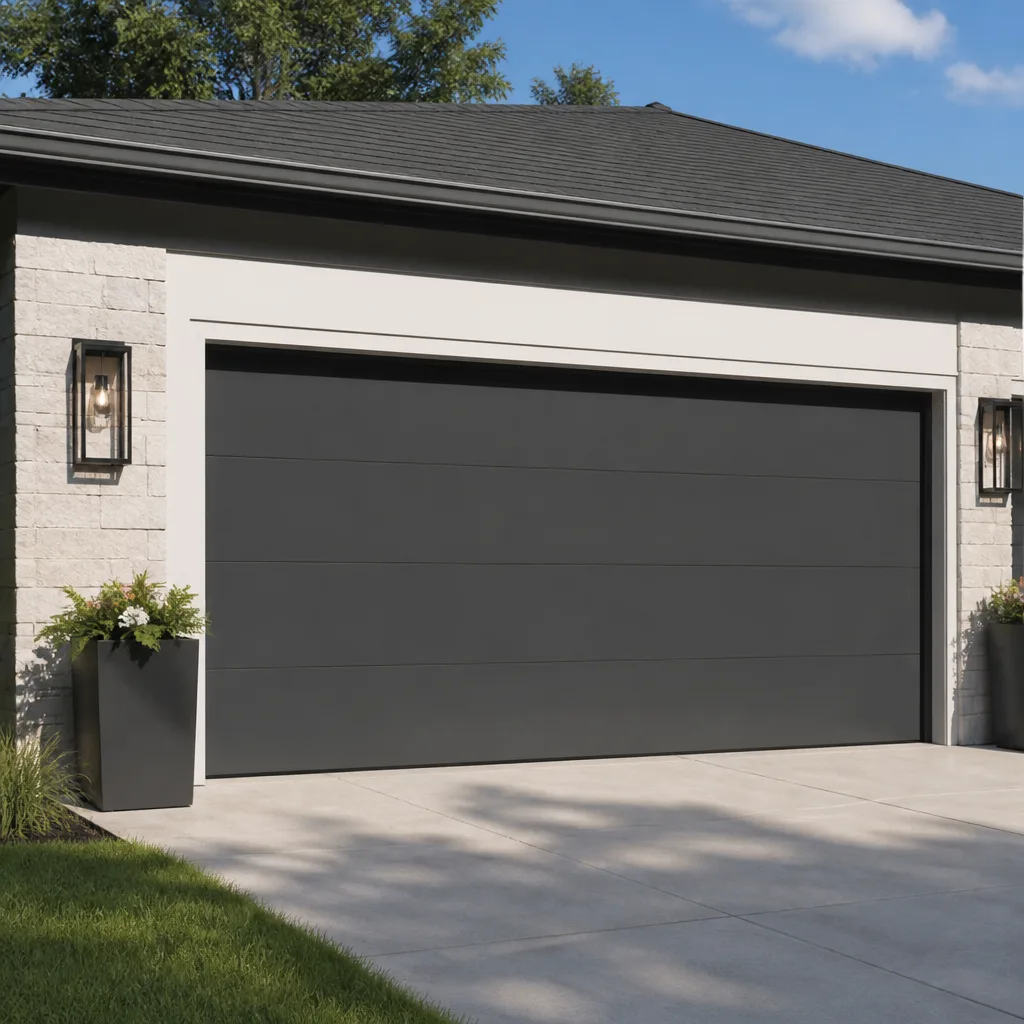 Modern flush
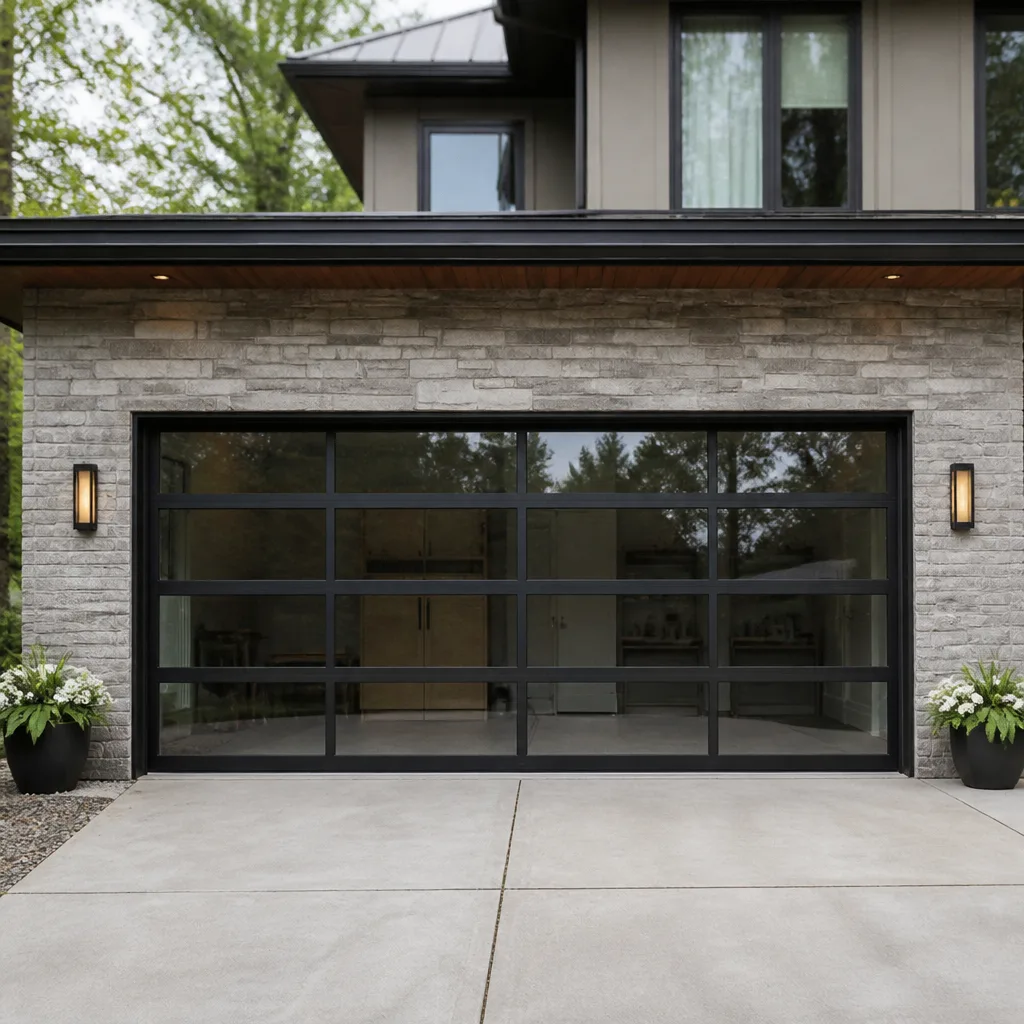 Full-view glass
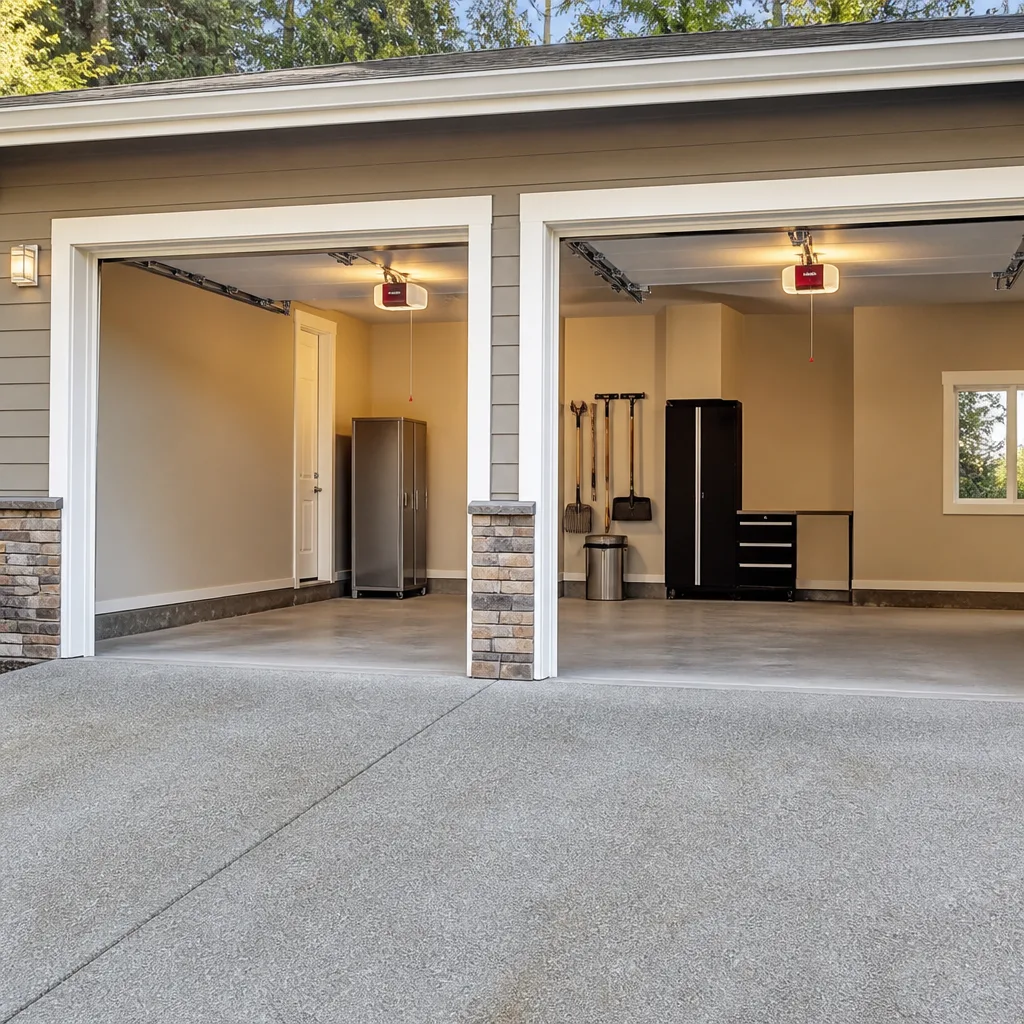 LiftMaster openers
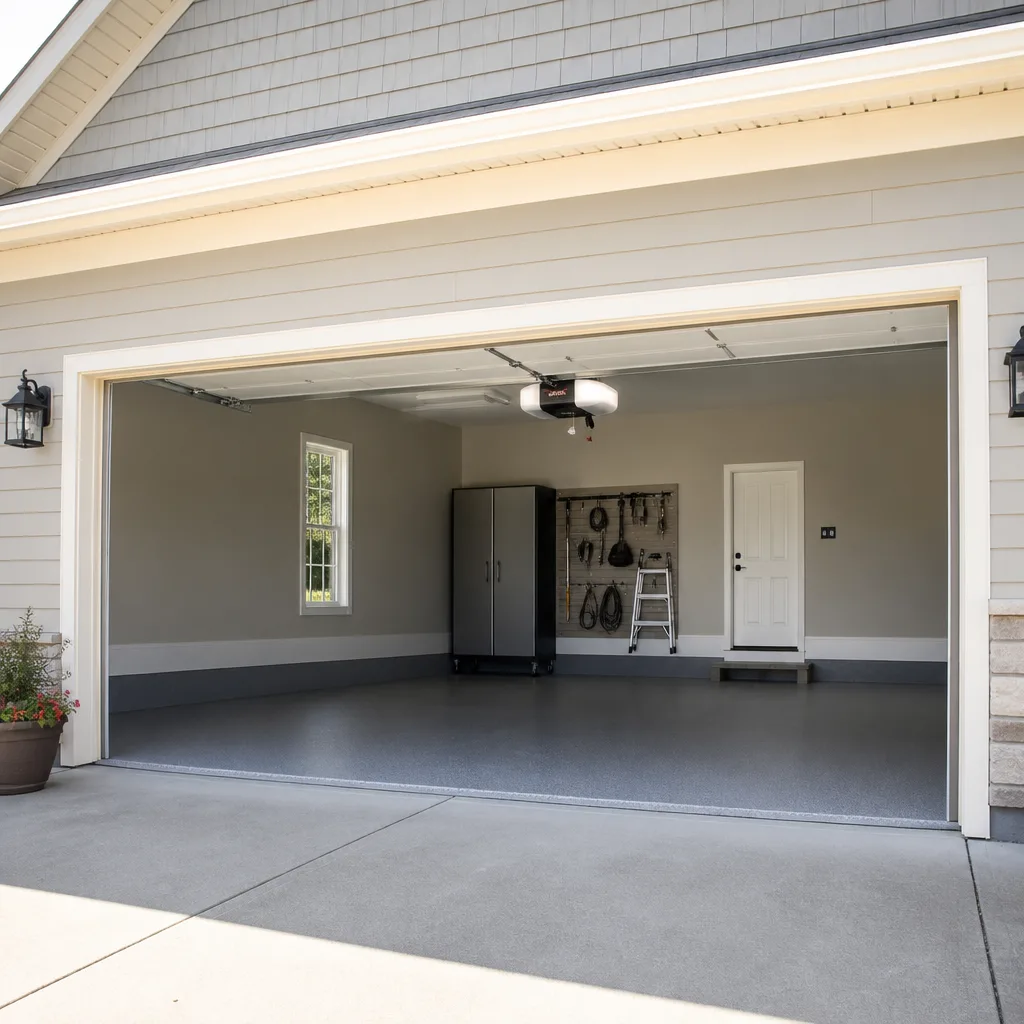 Chamberlain openers
Full 25-point door and opener safety check with every visit - springs, cables, rollers, tracks, and your LiftMaster or Chamberlain opener included
You get a price before we start. It does not change when the truck arrives.
Get your free estimateGarage Door Repair Troubleshooting: Common Problems and How to Fix Them
Here’s a counterintuitive fact we see constantly in Castro Valley garages: the part a homeowner suspects is broken is rarely the part that actually failed. That grinding noise? It’s almost never the motor. A door that reverses before hitting the ground? Usually not the sensors. The truth is that garage door systems fail in chains: a tired spring changes how the opener reads resistance, a misaligned track makes the door bind, and before long the “obvious” part gets blamed for a problem that started somewhere else entirely. This guide walks through the diagnostic logic our technicians use during our Garage Door Repair services across Castro Valley, working backward from what you see and hear to what actually needs fixing. If you can describe the symptom, you can get most of the way to the diagnosis.
Styles & brands we work with
- Raised-panel steel
- Carriage house
- Modern flush
- Full-view glass
- LiftMaster openers
- Chamberlain openers
Quick Answer
Garage door troubleshooting starts with a simple manual-release test: pull the red emergency cord, lift the door by hand, and observe what it does. A balanced door stays put, a door that slams shut has a spring problem, and a door that binds on one side has a track problem. Electrical symptoms (remote range loss, blinking lights, random reversals) almost always point to the opener logic board or sensors rather than the door itself. Fix the root cause, not the symptom, and you’ll avoid replacing parts that were never broken.
Table of Contents
- The Manual-Release Test: Your First Diagnostic Step
- Door Reverses Before Closing (And Why It’s Probably Not the Sensors)
- Garage Door Won’t Open: Opener Fault vs. Mechanical Fault
- Loud Grinding, Squealing, or Rattling During Operation
- Door Moves Crooked, Binds, or Shakes the Tracks
- Remote Only Works Up Close: Signal Loss and Interference
- Gap at the Bottom: Weather Seal, Limit Settings, and Spring Sag
- Reading LED Blink Codes on LiftMaster, Chamberlain, and Genie
- Lubricant: The Most Overused and Underused Fix
- Three Measurements That Tell You DIY vs. Call a Pro
- Common Mistakes to Avoid
- When to Call a Professional
- Frequently Asked Questions
- The Bottom Line
The Manual-Release Test: Your First Diagnostic Step
Before you spend a dollar or replace a single part, do this test. It takes thirty seconds and separates opener problems from door problems instantly.
The emergency release cord, usually a red rope hanging from the opener rail, disconnects the door from the motorized carriage. Pull it down and toward the door (not straight down). Now lift the door manually by the handle or bottom edge.
What you’re looking for:
- Door lifts smoothly to waist height and stays put: The door is balanced. The springs and cables are doing their job. If the opener is misbehaving, the problem is electrical: sensors, logic board, remote, or travel limits.
- Door feels heavy and slams shut if you let go: One or both torsion springs have lost tension or broken. Do not run the opener in this condition. The motor is fighting a load it wasn’t designed to handle, which shortens opener life and damages the top section of the door over time.
- Door binds or catches at a specific point: Track misalignment, a bent section, or debris in the track. The door should glide with minimal resistance through the entire cycle.
- Door sags or twists when lifted: Cable seating issue, usually one cable has slipped off the drum or the door has lost tension unevenly.
In Castro Valley, we see a seasonal pattern: spring failures spike in January and February when temperature swings stress metal, and track issues cluster in neighborhoods with older homes where garage floors have settled. If you live in the hills east of Lake Chabot or in the Palomares Hills area, slab settling is more common, which shifts track alignment gradually over years.
The manual-release test matters for one simple reason: it tells you which discipline the problem lives in. Mechanical door issues need a door technician. Opener electrical issues need an opener technician. Compass handles both under one roof, which means you don’t have to diagnose perfectly before you call, but doing this test first gives the technician a head start when you describe the symptom on the phone. For Garage Door Warning Signs: A Castro Valley Homeowner’s Reference Guide, see our dedicated post.
Door Reverses Before Closing (And Why It’s Probably Not the Sensors)
The most common service call we field in Castro Valley starts with “my door starts to close, then goes back up.” The homeowner has usually already tried cleaning the sensors, which did nothing. Here’s why: a door that reverses before touching the ground is almost always a spring that’s lost tension, and the sensor is just the messenger.
Modern openers use force sensing. They measure how hard the motor works against resistance. A properly balanced door with healthy springs should feel nearly weightless to the opener. When a torsion spring loses tension, the door becomes heavy. The opener feels that heaviness and interprets it as an obstruction. The sensor beam is still aligned and functional, but the opener thinks it’s pushing against something it shouldn’t.
Here’s the diagnostic sequence we use on every one of these calls:
- Run the manual-release test above. If the door is heavy or slams shut, the problem is spring tension. Stop here.
- If the door is balanced, check the sensor beam. Sensors near the floor on both sides of the door opening should have a steady green light and either a steady or blinking amber light, depending on brand. If one light is out or blinking differently, wipe the lens with a dry cloth and check alignment.
- Check the close-force setting. It’s usually a small dial or button sequence on the opener unit. If it’s been turned down too low, the opener will reverse on a fully healthy door. Adjust incrementally, but understand that force dials should never be maxed out to compensate for a tired spring.
- Watch the door during final descent. If the bottom corner catches or scrapes the jamb, the track is slightly out of parallel. A quarter-inch at the bottom translates to a noticeable catch, and the opener reverses to avoid damage.
The insight that saves you money: sensors fail rarely. Springs fatigue predictably. If you’re in Castro Valley and your door reverses near the ground, there’s a strong chance the spring has done its duty cycle and needs attention before it gives out at 7:43 a.m. on a commute morning.
Garage Door Won’t Open: Opener Fault vs. Mechanical Fault
A door that refuses to open at all can be one of five things: a dead spring, a disconnected carriage, a jammed section, a failed logic board, or a wall button or remote that isn’t talking to the unit. The symptoms differ enough that you can identify which one in under a minute.
Run the manual-release test first. Always. If you pull the release and the door lifts easily by hand, the door is fine and the failure is in the opener system. If the door won’t budge manually, you’re dealing with a physical obstruction or a spring issue.
Listen for the motor. When you press the wall button, what do you hear?
- Nothing at all: No hum, no click, no movement. This points to power or logic board failure. Check the outlet with a lamp, check the GFCI reset (garage outlets in Castro Valley homes are typically on a GFCI circuit, and a tripped outlet kills the opener entirely), and then check the wall button wiring.
- A click or a hum, but no movement: The motor is straining against a load it can’t move. This is a broken spring or a door jammed against the jamb. Do not keep pressing the button; the capacitor and gear can overload and fail.
- Motor runs, but door doesn’t move: The carriage has disengaged. This happens when the manual-release cord was pulled accidentally or the carriage mechanism has stripped.
Chamberlain and LiftMaster openers made in the last decade have belt or chain drives with a plastic carriage that mates to the rail. Over time, that carriage wears smooth and lets the door slip during operation. If your opener is older and the motor runs but nothing happens, the carriage is a likely culprit. It’s a replaceable part and less expensive than a full opener swap.
One more angle to check before assuming the worst: the wall button itself. In Castro Valley garages with uninsulated walls, cold mornings can cause a failing wall button to lose connection. If the button is hardwired, check the two low-voltage wires at the back of the button. If they’re loose or the button face is cracked, that’s the whole problem, not the motor.
Loud Grinding, Squealing, or Rattling During Operation
Noise tells you a lot if you know what to listen for. Here’s how a diagnostic ear separates the types:
- Squealing or high-pitched chatter usually means dry rollers, hinges, or bearings. This is the lubrication-appropriate zone. White lithium grease on hinges and rollers (not silicone spray, which evaporates quickly and does little for metal-on-metal contact) quiets it down. But stop there: squealing that persists after lubrication points to a worn bearing race in the roller or the torsion assembly.
- A rhythmic thumping or clacking is almost always a roller or hinge that’s come loose, a section that’s started to separate from the hinge line, or a track bolt that’s backed out. This is a physical-fix issue. Inspect the moving parts while the door travels and you’ll usually spot the culprit.
- Grinding from the motor unit on a chain-drive opener means the sprocket or gear is stripping. On belt-drive openers, it may mean the belt is misaligned and rubbing. Chain-drive gear failures are common on older LiftMaster and Craftsman units after 10-plus years of service, which is what we see in much of Castro Valley’s older housing stock.
- A groan or shudder on certain sections of travel points to track or panel binding. The door is working against the rail rather than gliding along it.
One thing to understand clearly: noise is a symptom, not a disease. If the door groans every day at the same point in its travel, greasing the rollers may mask the noise but won’t fix the underlying binding. And here’s the danger – a door that’s binding is a door that’s wearing out faster. Bearings fail, cables fray, and sections crack. The proper move is to find what’s actually causing the resistance.
If you’re comfortable doing a visual inspection, watch the doors travel with the opener disconnected. Put your hand on the track while the door moves (carefully, away from pinch points) and feel for vibration. A vibrating track means a roller is skipping or the track has a bend. A dead, smooth rail with no noise means you’re chasing an opener issue, not a door issue.
Door Moves Crooked, Binds, or Shakes the Tracks
A door that travels unevenly is the one situation where you should stop using the opener immediately. This is not a symptom to live with for a week while you think about it. A binding door puts lateral load on the cables and hinges, and when a cable snaps under load, the door can drop with enough force to hurt someone or wreck a vehicle. The danger is real.
Here’s what an uneven door usually means, in order of likelihood:
- Both springs are not delivering equal tension. Torsion springs wind up and release energy in a paired system. When one side fatigues first, the door rises with a twist and binds on one track.
- A cable has slipped off the drum. Look at the cable drums at the top of the door, directly above the track on each side. If one cable is sitting in a higher groove than the other, or one cable is crossing over itself, the door will track unevenly.
- The track has been knocked out of parallel. Cars, bikes, ladders, kids, moving boxes – garage track takes hits. A track that’s 3/8 inch out of parallel will bind at a specific point in travel.
- A roller has worn or snapped. Check the rollers at the top section edges. A broken roller lets the door drop on that corner and the top section can come out of the track, which is dangerous.
The tell-tale sign that separates spring imbalance from a track problem is consistency. A spring imbalance causes uneven travel at every point in the cycle. A bent track binds at one particular spot, usually mid-travel, and then releases after the door passes it.
For track alignment issues, a careful homeowner can often correct a minor bend with a pair of locking pliers and slow, measured adjustment. But here’s the honest guidance from our team: tracks are under constant load from the door and springs, and if the track pulls loose while the door is overhead, the consequences are serious. If you’re not sure, don’t guess. A garage door technician in Castro Valley can assess track alignment in under an hour, and many minor track corrections can be made without replacing any parts. For help choosing the right pro, read How to Hire a Garage Door Contractor in Castro Valley: A Step-by-Step Guide.
Remote Only Works Up Close: Signal Loss and Interference
If your remote only works when you’re nearly at the door and the wall button works fine, you’re looking at a signal problem, not a mechanical one. Here’s the diagnostic order:
1. Check the battery. It sounds obvious, and it is, but we burn through more 2032 batteries on Castro Valley service calls than any other part. A dying battery reduces output and shortens range. Replace the battery first. It’s the five-dollar fix.
2. Look for LED interference. This is increasingly common and chronically underdiagnosed. LED bulbs in the garage door opener itself, or in the garage ceiling fixtures, emit electromagnetic interference in the frequency range that remote controls use. Genie and Chamberlain both publish compatibility lists for bulbs that won’t cause interference. If you replaced incandescent bulbs with LEDs recently and the remote range tanked, switch to a different LED or use a bulb rated for opener use.
3. Check the antenna. On the opener unit, there’s a short wire hanging down from the motor housing. It should be hanging straight, not coiled, not tucked into the housing. If it’s touching metal or kinked, range suffers. Straighten it and point it toward the garage door.
4. Consider proximity to new electronics. Garage door openers operate on 315 MHz or 390 MHz. New smart home hubs, Wi-Fi extenders, security cameras, wireless doorbells, and even some garage door battery backups can create interference. In Castro Valley, where many homes have added smart-home gear over time, we see range problems from this more often than from actual component failure.
5. Reprogram the remote. If the above doesn’t solve it, clear all remotes from the opener and re-pair them. This forces the unit to re-lock onto the remotes’ frequency. It’s a five-minute fix that solves a surprising number of intermittent range issues.
If you’ve been through all five and the range is still poor, the receiver board in the opener may be failing. On a LiftMaster or Chamberlain unit, this is a modular board. It can be replaced without swapping the whole opener, and it’s less expensive than a full replacement.
Gap at the Bottom: Weather Seal, Limit Settings, and Spring Sag
A light gap under the door is more than a cosmetic issue. In Castro Valley, where winter months bring damp mornings and occasional heavy rain, a bottom gap lets water, insects, and rodents into the garage, and it lets conditioned air escape. The fix depends on why the gap exists.
Location of the gap is the key clue:
- Gap only on one side: The door is sagging on that side due to a worn roller, a cable that’s loosened, or an uneven floor. The door may be sitting unevenly on the ground because the concrete has settled or heaved. In hillside Castro Valley neighborhoods, slab settling is not unusual. If you see a gap on the left or right corner but not the other, check the floor level with a simple level.
- Gap across the entire width: The door is not closing far enough. This can be a limit-switch adjustment issue – the opener thinks it’s closed when the door is still a half-inch off the ground – or a spring that has stretched and no longer holds the door flat at rest.
- Gap in the middle with even contact at the corners: The concrete has a crown in the center. Common in older Castro Valley garages where the slab has shifted. The solution is a thicker bottom seal, not a door adjustment.
Limit switch adjustment is generally a DIY-fixable issue on most openers. Look for two adjustment dials or screws on the opener unit labeled “up” and “down.” Turning the down limit slightly further will let the door travel further before reversing. Make small adjustments (an eighth turn at a time) and test.
But if the gap exists because the spring has stretched and lost lifting ability, limit adjustments won’t fix it. You can force the door lower by cranking the down limit further, but that puts the door body under tension and shortens the life of everything attached to it. The correct fix is spring service. In Castro Valley’s climate, where hot summers and cool nights cycle metal through stress cycles every day, springs fatigue at a fairly predictable rate based on cycle count. A standard torsion spring is rated for roughly 10,000 cycles. If your door has been opened twice a day for 15 years, you’re past that threshold and the spring has lost its lively tension.
Reading LED Blink Codes on LiftMaster, Chamberlain, and Genie
Most garage door opener problems are self-diagnosing if you know how to read the blinking lights. LiftMaster, Chamberlain, and Genie each use distinct LED patterns to report faults. Here’s how to skip the guesswork:
LiftMaster and Chamberlain (these brands share parentage and use the same diagnostic system):
- 1 blink: Sensor wires reversed or shorted. The sensors are connected incorrectly or the wire has a break.
- 2 blinks: One sensor has lost alignment or is blocked. Realign and check for obstructions.
- 3 blinks: Door control or wiring fault. The wall button or its wires are shorted.
- 4 blinks: Sensor eyes are misaligned enough to read an intermittent signal. This often shows up as random reversals with no apparent obstruction.
- 5 blinks: Motor overheat. The opener has been run too frequently. Let it cool for 20 minutes and inspect the cause.
- 6 blinks: A component on the logic board has failed. This typically requires board replacement.
Genie uses a different system: the round LED on the back of the unit blinks in long and short pulses, like Morse code. A single long pulse followed by two short pulses means a sensor issue. Two long, two short means a carriage issue. If you have a Genie opener and can’t decode the pattern, the best move is to call with the model number handy. Genie units can last a long time, and model-specific codes are not always intuitive.
One practical note from the field: on Chamberlain and LiftMaster units, a flashing light when the door is idle often means the opener is in “vacation mode” or “lock mode,” which disables remote operation. Check the wall console for a lock icon or hold down the lock button for two seconds to toggle it.
If you have a Craftsman opener, the diagnostics usually follow the Chamberlain pattern since most Craftsman openers were built by Chamberlain under license. The same blink code chart applies.
Lubricant: The Most Overused and Underused Fix
Lubricant is the one product garage owners reach for too much and too little at the same time. They spray the wrong part with the wrong product and then wonder why the noise comes back in two weeks. Or they never lubricate at all and wonder why the mechanism is wearing out prematurely.
Where lubrication helps:
- Hinges: Every hinge on every section has a pivot point that takes load throughout the door’s cycle. Use a lithium grease spray or a silicone-based garage door lubricant. Two to three drops per hinge pivot, twice a year.
- Rollers: Rollers with metal stems benefit from a drop of oil on the stem where it enters the nylon wheel. But if your rollers have metal wheels rather than nylon, lubrication is a temporary fix. Metal-wheeled rollers are older and noisier by nature; replacement is the real fix.
- Torsion spring: Light lubrication on the coil spring helps prevent surface rust and keeps the coils from binding against each other. Use garage-door-specific lubricant, not WD-40, which is a solvent that strips existing lubrication.
- Bearing plates at the torsion tube ends: These carry the spring weight and are often overlooked in maintenance. A few drops twice a year extends their life.
Where lubricant masks a problem:
- The track. Do not lubricate the garage door track. The rollers are designed to roll on a dry track. Lubricating the track attracts dust and debris, creates a sticky film, and makes the rollers work harder over time. This is the single most common DIY mistake we see in Castro Valley garages.
- Noisy opener gear. If the opener is grinding and you spray lubricant into the housing, you’re not fixing the stripped gear; you’re just delaying the moment you’ll be replacing it. Openers with gear issues get replaced or have the gear swapped, not sprayed.
- Springs that are already fatigued. Lubricating tired springs makes them quieter but doesn’t restore tension. It’s not a bad thing to do; it’s just not the fix. A quiet-but-tired spring is still a tired spring, and the door is still heavy.
A good twice-a-year schedule in Castro Valley: lubricate hinges, rollers, and spring in spring and fall, when the weather is mild and you’re already doing other seasonal maintenance. It takes ten minutes and it’s the highest-ROI maintenance you can do.
Three Measurements That Tell You DIY vs. Call a Pro
Some garage door jobs are genuinely doable for a capable homeowner. Some are not, and the line between them comes down to three measurements. These numbers don’t lie, and they’ll tell you immediately whether you’re about to save money or create a bigger repair bill. Explore more guides & resources for additional home maintenance help.
1. Spring tension – the balance test. Pull the release cord and lift the door manually to waist height. Let go. A balanced door stays. A door that drops more than six inches is spring territory. A door that drops fast or slams is a spring emergency. No homeowner should attempt to replace or tension a torsion spring without proper winding bars and experience. The energy stored in a wound spring is enough to break bones or worse. This is the single most dangerous garage door component, and the line between DIY and pro is black and white.
2. Cable seating – the drum check. Look at the cable drums at the top of the door, above the tracks on each side. The cables should sit cleanly in their grooves, not overlapping, not angled, not slack. If both cables are seated and the door is balanced, you’re clear to proceed with routine maintenance. If one cable is crossed over itself or sitting out of its groove, stop using the door. Cable adjustment involves working near the loaded spring system, and a cable under load can lash if it lets go. This is technician territory.
3. Track gap – the parallel check. Measure the distance between the vertical tracks at the top, middle, and bottom of the door opening. The distance should be the same all the way down. A variation of more than 3/8 inch means the track is out of parallel and needs adjustment. If the variance is small and the track bolts are accessible, a careful homeowner can loosen, adjust, and re-tighten. If the track is kinked, bent, or has pulled bolts out of the wall, the door should not be operated until a tech assesses it.
If all three measurements pass, the remaining problems are likely in the opener system, which is lower-risk work for a DIYer. If any fail, the disciplined move is to call. Compass performs garage door repair in Castro Valley daily, and many of our calls start with a homeowner who decided the spring “looked fine” and now has a door off its track with a frayed cable. The measurement tells the truth before the door does.
Common Mistakes to Avoid
- Replacing sensors when the spring is tired. The sensor replacement is the most common wasted-parts purchase in garage door repair. If the manual-release test shows a heavy door, sensors aren’t the issue. A dead spring makes the opener’s force settings “lie to themselves” and reverse a perfectly healthy door. The fix is spring service, not a new sensor pair.
- Lubricating the track. The track is not a lubrication point. The rollers are not supposed to slide in the track; they roll. Lubricating the track just creates a sticky, dust-packed mess that increases friction and shortens roller life. In Castro Valley’s dry summers, that dust accumulation happens faster.
- Maxing out the force dial to fix a heavy door. If the close-force or open-force dial is cranked to maximum to keep a sagging door moving, the opener is working against a spring that’s given out. The force dial is not a fix; it’s a compensating mask. Eventually the opener motor or gear strips, and you’ll be replacing the opener as well as the spring.
- Adjusting travel limits without checking the balance first. If the door is heavy and you keep lowering the down limit to get the door to close fully, you’re forcing a fatigued spring to do work it can’t do. Adjust limits only after confirming the door is balanced via the manual-release test.
- Ignoring intermittent symptoms. A door that reverses randomly, a remote that works “most of the time,” a squeak that comes and goes – these are early warning signs. The problem compounds. A frayed cable left unchecked becomes a snapped cable. A noisy roller left alone becomes a roller that jumps the track. Intermittent means the failure is coming, not that it’s going away.
- Pulling the emergency release while the door is open. If the door is in the open position and you pull the release cord, the door will slam down if the springs are compromised. Always pull the release when the door is closed, or support the door manually before pulling it in the open position.
- Working on the opener without cutting the power. The opener draws 120 volts, and the capacitor inside holds charge even after unplugging. If you’re opening the motor housing for any reason, unplug the unit and wait a few minutes before touching anything inside.
When to Call a Professional
Some situations are self-evident. If your torsion spring is visibly broken or the door hangs crooked and you can see a frayed cable, don’t operate the door further. If the manual-release test shows a door that’s too heavy to lift safely, the spring system is beyond DIY scope. And if you’ve made the adjustments you’re comfortable making and the problem persists, more tinkering tends to make the repair more expensive, not less. Our technicians at Compass carry parts that fit Clopay, Amarr, Wayne Dalton, and Craftsman doors as well as the opener brands we service, which means one visit usually solves the problem. We diagnose before we quote. If you’re in Castro Valley, we’ll walk you through the manual-release test on the phone, tell you what we think you’re dealing with, and give you a straight answer on price before any work starts. Compass Garage Door Repair offers free estimates – call (855) 356-4948.
Frequently Asked Questions
Most common repairs in Castro Valley fall in the $150 to $350 range for parts and labor, with spring replacement typically running $250 to $400 for a paired set. Opener logic board replacements are often less than full opener replacement, and the final number depends on what the diagnostic reveals. We quote before we work, so the number you approve is the number you pay. Call (855) 356-4948 for a free estimate on your specific door.
We keep same-day availability for emergency situations in Castro Valley whenever possible, especially for doors that won’t close or can’t be secured. If the issue is a broken spring or a door off its track, we prioritize those calls. Call (855) 356-4948 and our team will give you a straight answer on timing.
No. The price we quote is the price you pay, and we confirm it before any work starts. If the diagnostic reveals a secondary issue, we show you what we found and get your approval on any additional work separately. There are no surprise charges at the end.
Our technicians carry parts compatible with Clopay, Amarr, Wayne Dalton, Craftsman, and Raynor doors, along with LiftMaster, Chamberlain, Genie, and Craftsman opener components. For most jobs, one visit is all it takes. If a specific part needs to be ordered for an unusual setup, we tell you up front.
No. If the door is balanced and the sections and hardware are in good shape, replacing just the opener is the right move. If you have questions about whether to repair or replace your current opener, our garage door opener repair in Castro Valley service starts with an honest diagnosis of what you’ve got and what we’d recommend.
Standard torsion springs are rated for about 10,000 cycles, which translates to seven to ten years for a typical two-car garage that opens and closes twice daily. Temperature swings in Castro Valley, particularly hot summer days followed by cool nights, add stress cycles to the metal. If your door is making more noise than it used to and feels heavier on manual operation, the spring is likely near the end of its rated life, even if it hasn’t snapped yet.
We strongly recommend against it. Torsion springs hold an enormous amount of stored energy, and the winding and unwinding process without proper winding bars and training can cause serious injury. What we see too often is a homeowner who realizes this mid-job and calls us anyway, by which time the door is in worse shape than when they started. Spring replacement is the one repair we’d put firmly in professional territory.
The Bottom Line
The diagnosis should come before the fix, not after it. The manual-release test separates door problems from opener problems in thirty seconds. The blink codes on your opener can tell you exactly what the unit thinks is wrong. And the balance test tells you whether that grinding noise is a lubrication issue or a spring that’s about to give out. If you’re seeing a symptom and you’ve worked through the decision tree in this guide, you probably know more about your garage door than most people know about their cars. And when you’ve hit the line between DIY and professional territory, our team in Castro Valley is one call away. We diagnose before we quote, we work on your brand, and we give you a straight price before the work starts. Call Compass Garage Door Repair at (855) 356-4948 and get your door back on track.
Written by the team at Compass Garage Door Repair, serving Castro Valley since 2018.
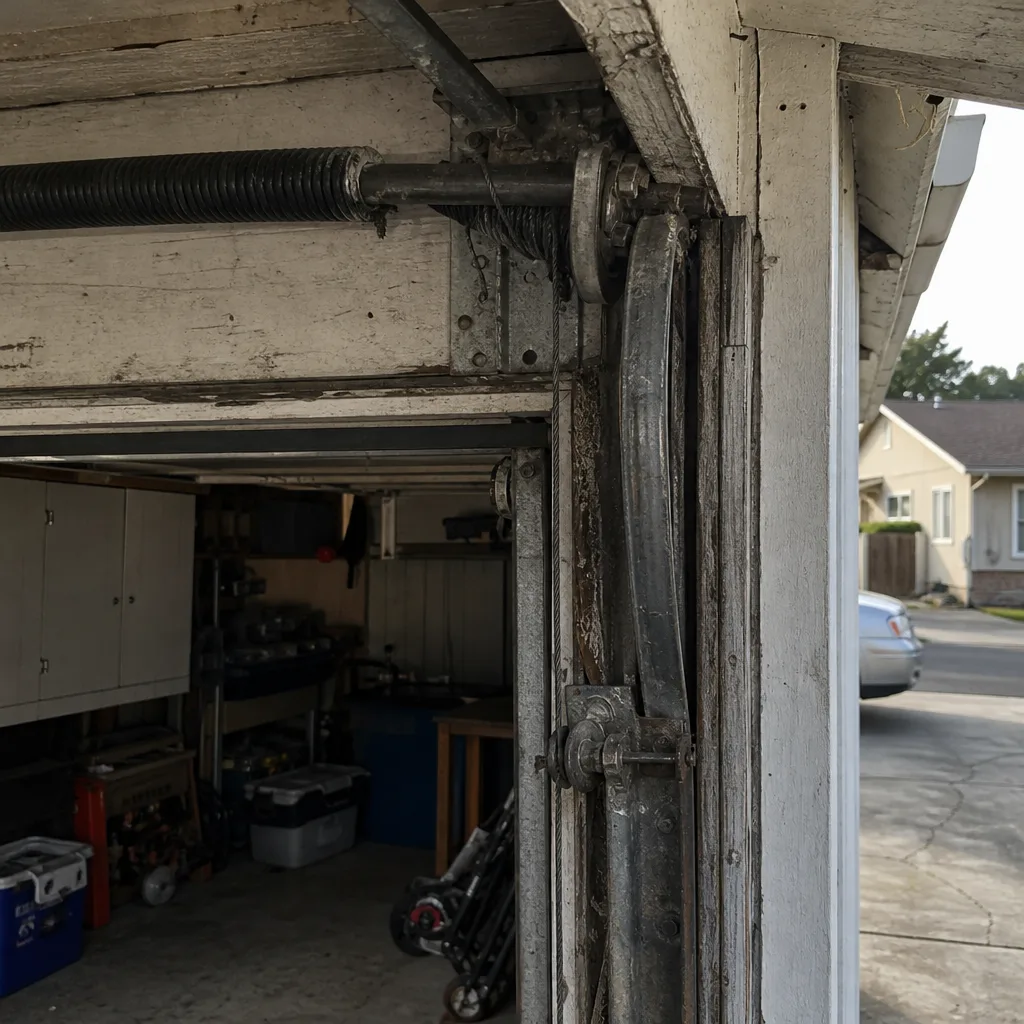
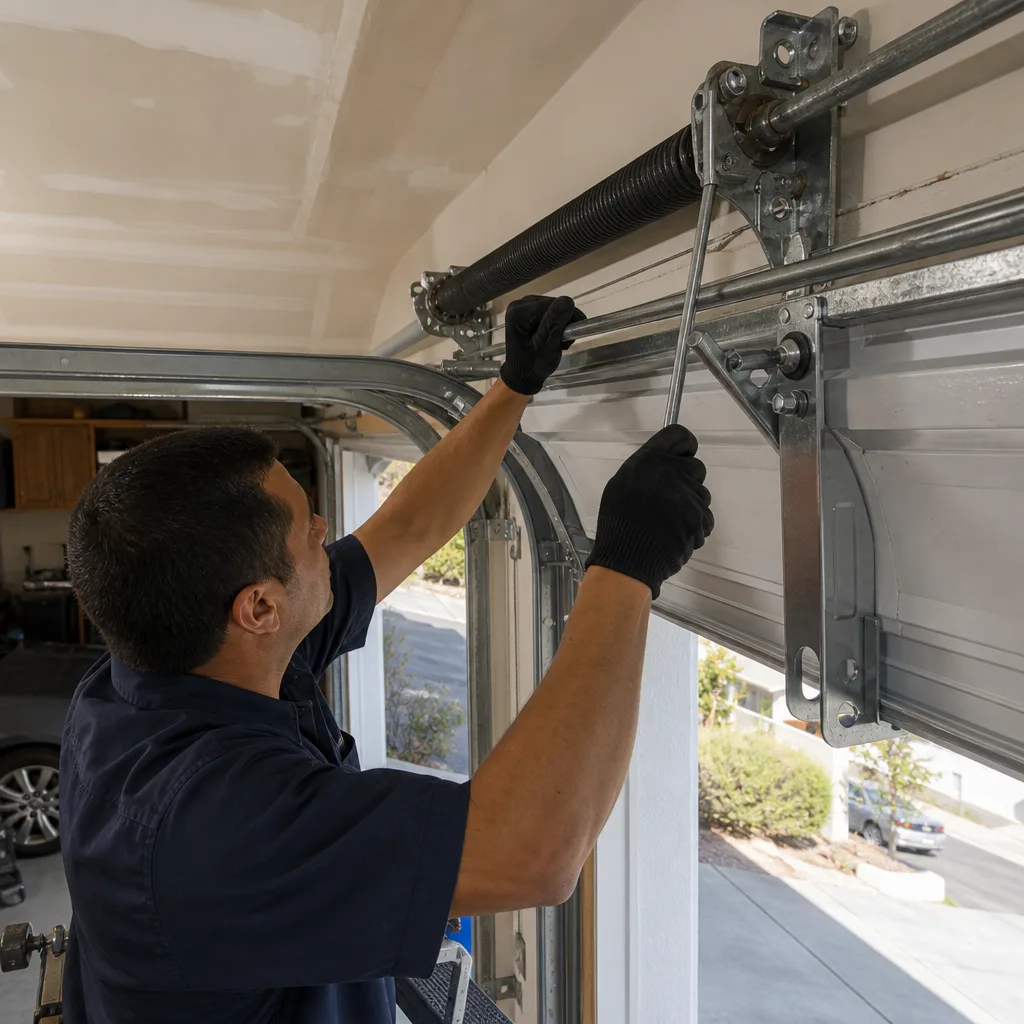
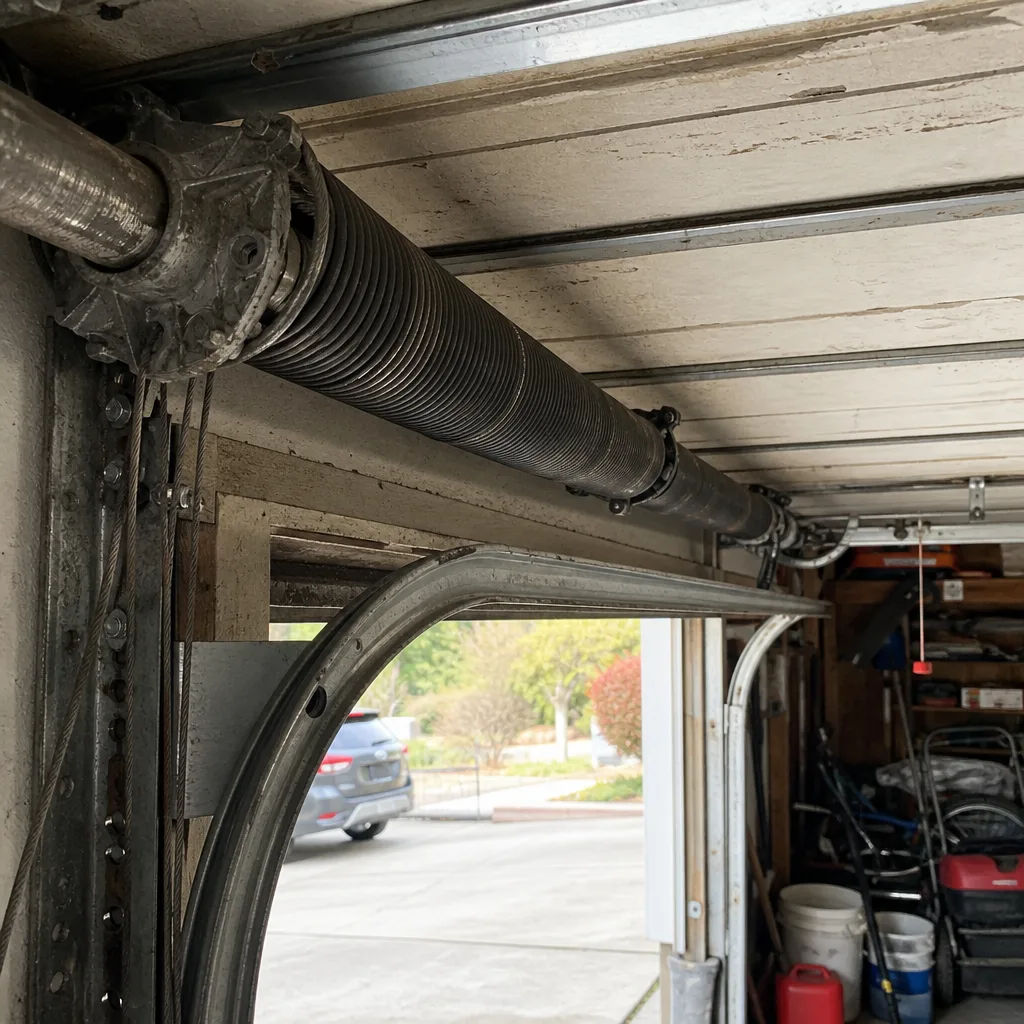
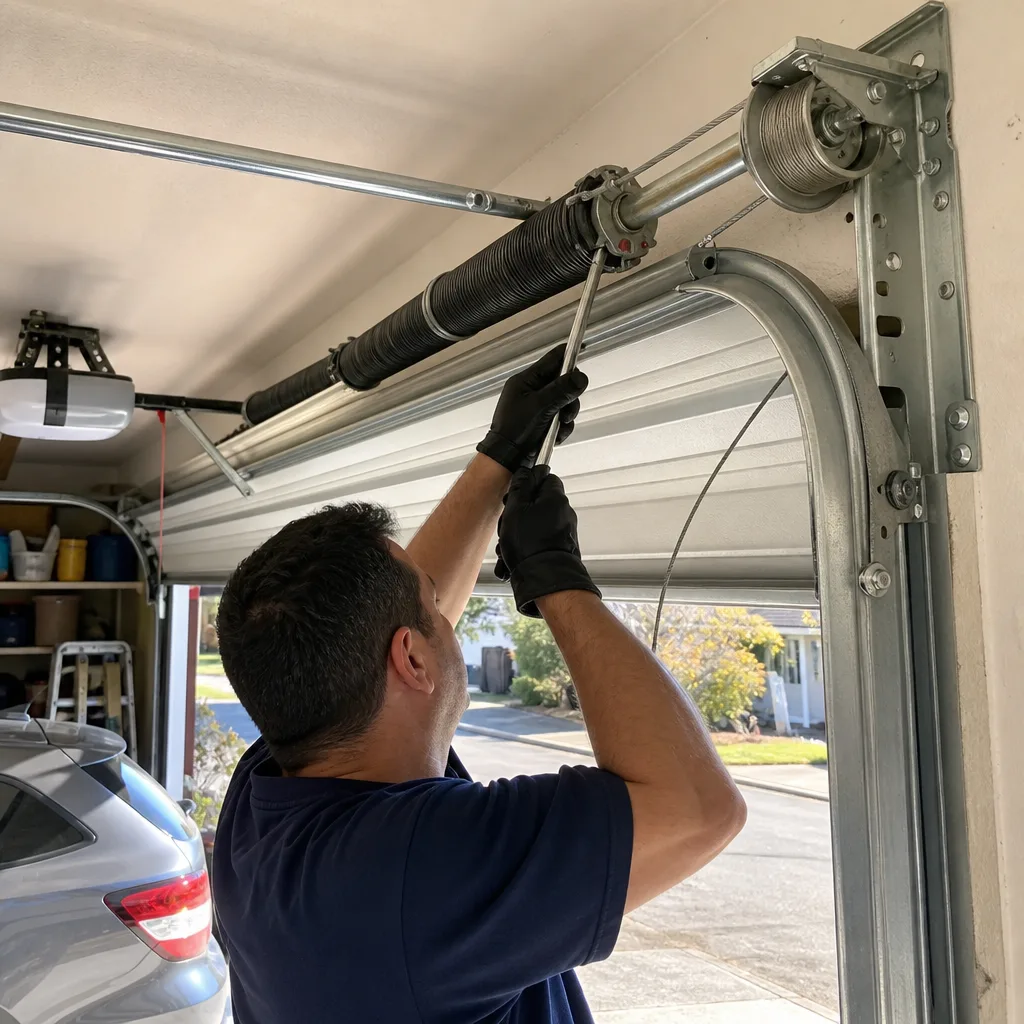
See the difference
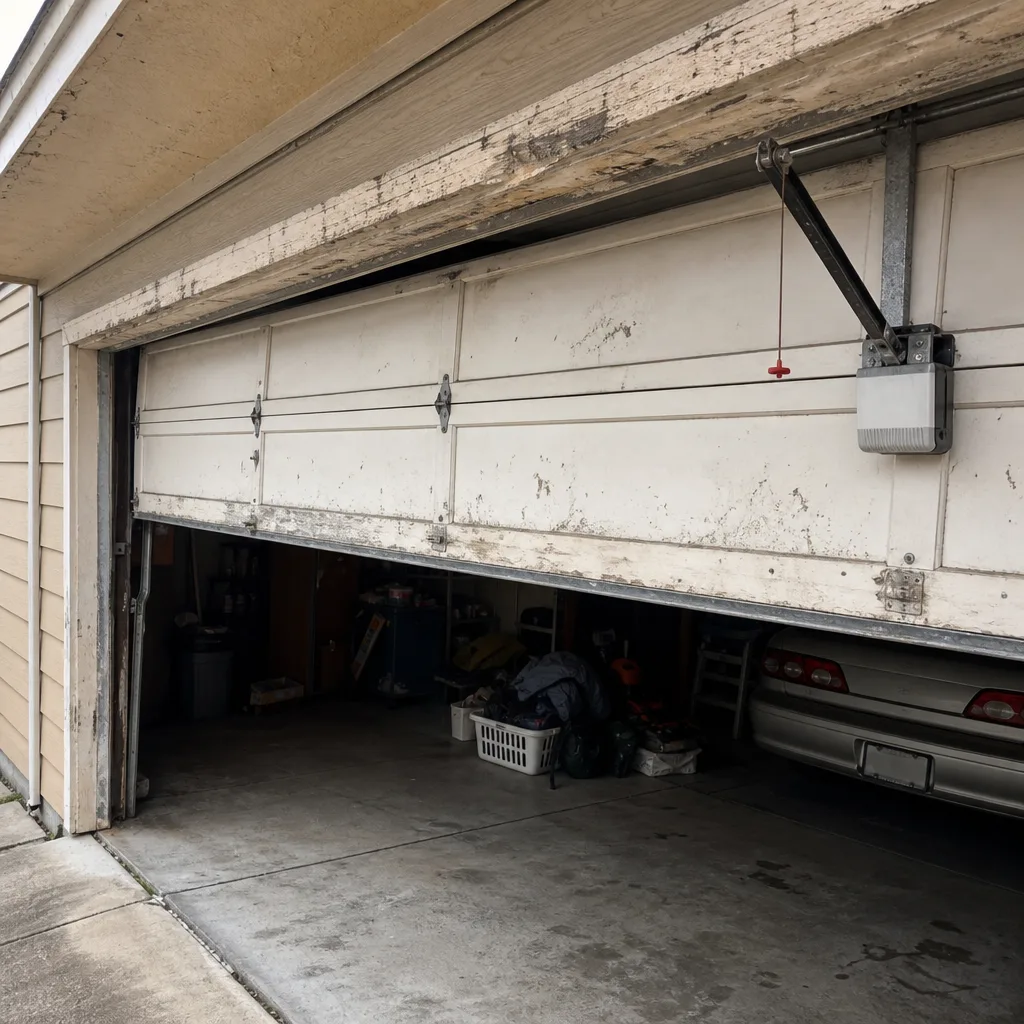 Before
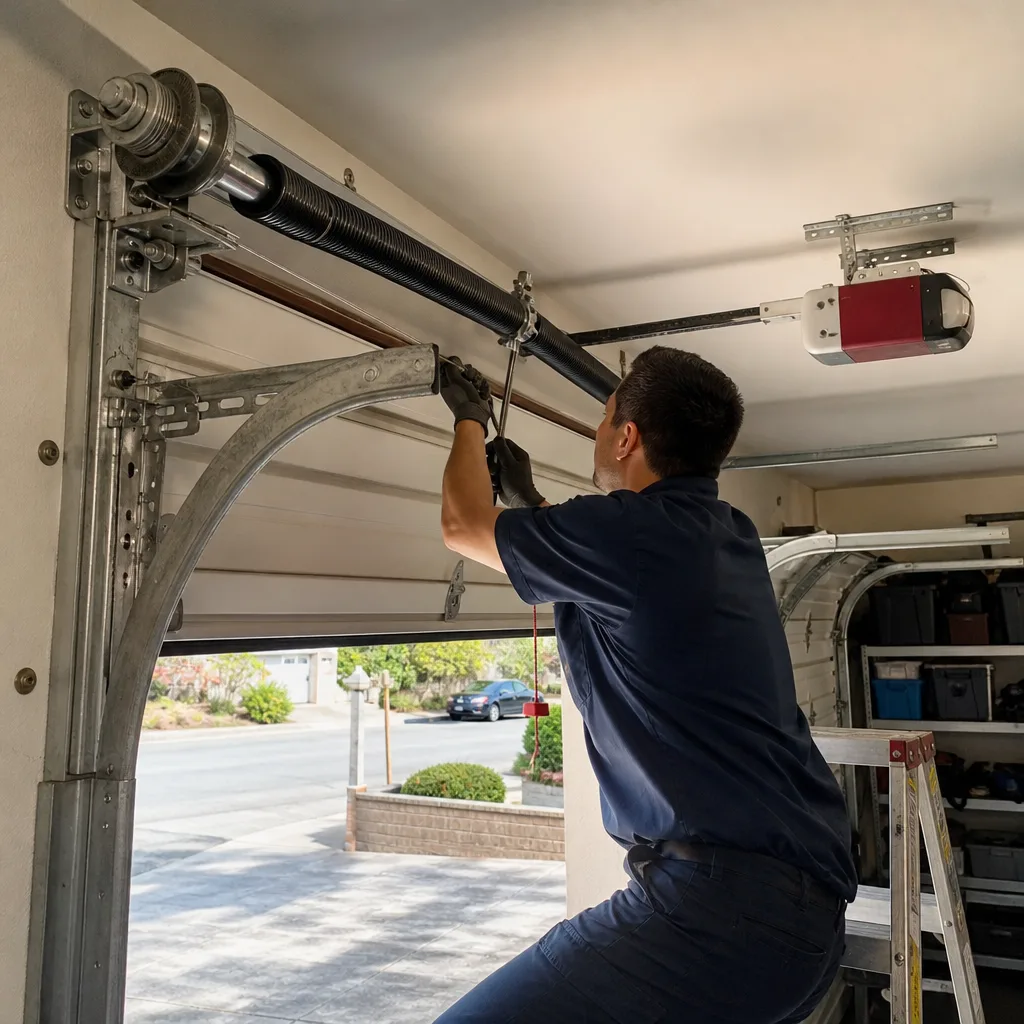 After
 Before
 After
 Before
 After